Entrusting your beer to the postal service can be a scary business! What do you need to do to make sure it arrives at the other end safe and sound?
We’re going to take you through everything you need to know! From licensing requirements to packaging, we’ll cover all the essentials. And we’ll suggest some top tips too.
So if you want your beer to arrive undamaged at its destination, read on!
Tools and equipment for shipping beer
- Cardboard box
- Bubble wrap – ideally you want the stuff with large bubbles
- Extra material for use as filler – crumpled up newspapers work well
- 1-gallon capacity plastic bags – either Ziploc or garbage bags
- Rubber bands
- Electric tape (optional)
- Packing tape
- Sharpie
- Beer
Step by Step Guides on How to Mail Beer
Step 1: Understand the rules
First things first – if you’re going to ship beer in the USA, you need a license.
Different carriers will have different rules, so make sure you understand what they are.
And even if you have a license, what’s possible will depend on the state rules for both where you live, and where you’ll be sending your package. A visit to the websites of the relevant shipping companies will get you all the information you need.
If all this sounds like a lot of hassle – it is. So if you’re determined to ship beer, think carefully about what you’re doing.
You’ll need to declare the contents of your package when you send it. And if you don’t tell the truth and get found out, at the very least your package will be disposed of. In the case of the USPS, they may even press charges.
Your best bet is to make friends with a licensed local wine merchant. If they agree to ship the beer for you, the licensing problem is taken care of.
If you have a license – great! USPS is a great value option. They’ll also ship to Hawaii and Alaska for the same price as the continental US.
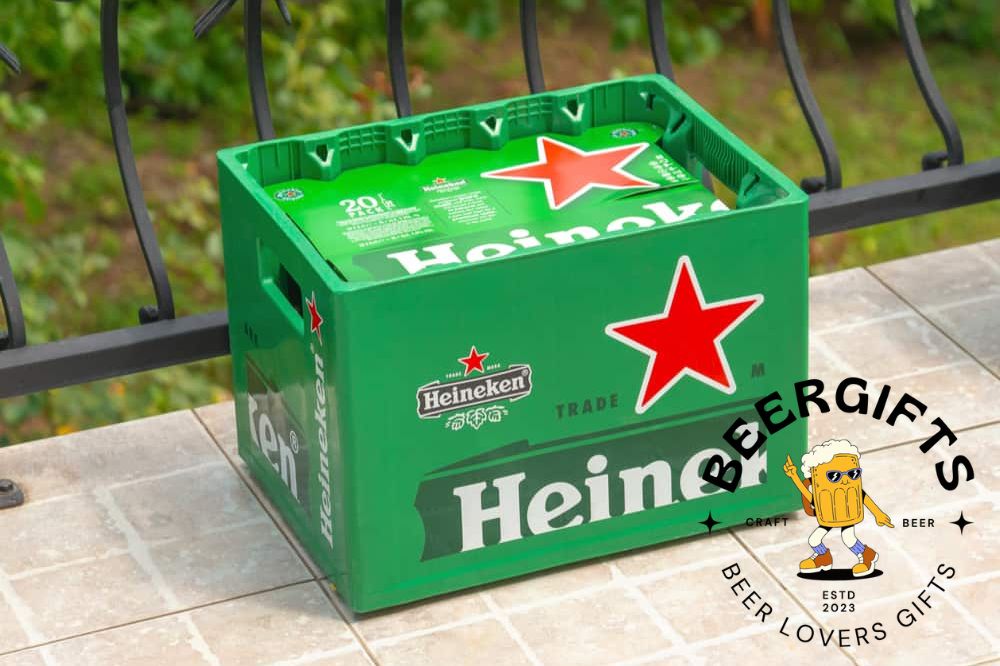
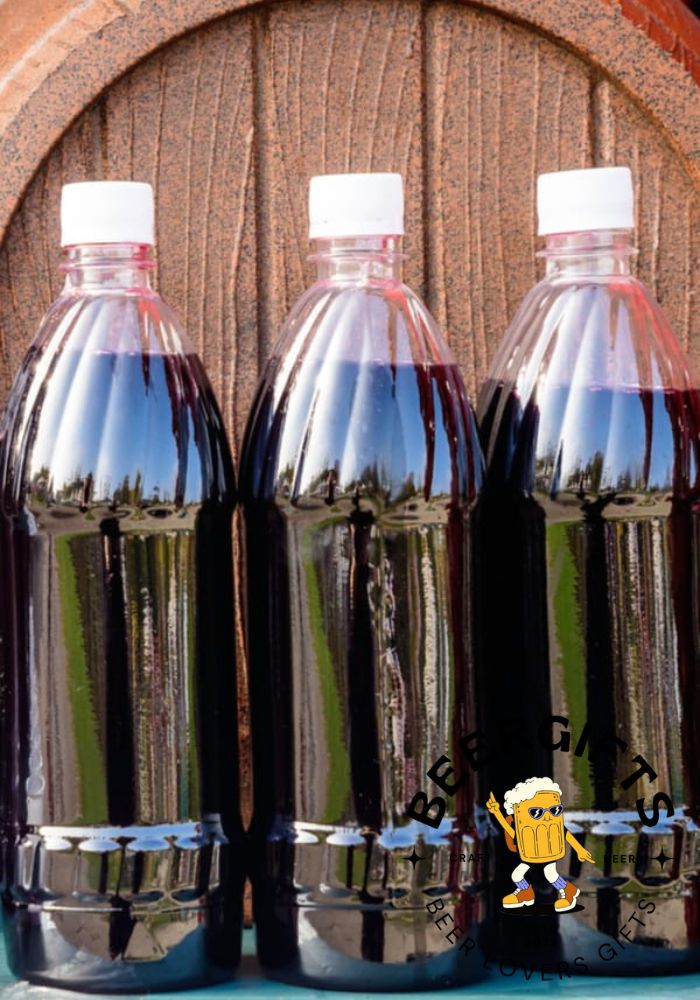
Step 2: Choose your beer container wisely
We’re going to show you how to package your beer so it has the best possible chance of arriving undamaged. But don’t ride your luck by trying to ship beer in glass bottles! They’re just too fragile.
Ship in plastic bottles or cans instead. These will cope with a dent without exploding everywhere and ruining the entire contents of your parcel.
If you’re dispensing homebrew into another bottle, make sure you fill it all the way to the top. That will avoid any gurgling sounds if you’re worried about the contents being detected! It also, of course, offers the added advantage of giving your recipient more beer.
Pro tip: For homebrew, reusable plastic water bottles are particularly good. They’re more robust than single-use plastics, as well as being kinder to the environment. Check that the plastic is food safe, so you don’t have to worry about chemicals leaching into your beer.
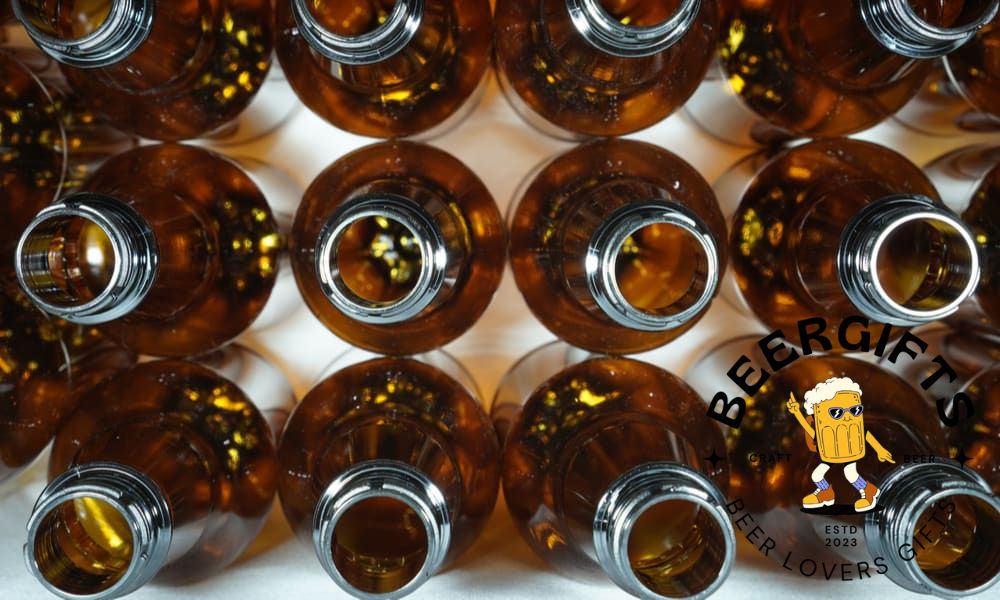
Step 3: Secure any lids
With your beer in an appropriate container, it’s now time to check the seal. If you’re shipping cans or containers with a wax seal, you can skip this step. But if your beer is in standard bottles, you want to make sure the lids are going to stay on.
If you’re using a container with a screw-top lid, screw it on as tightly as possible. Tip it upside down to check it doesn’t leak.
Now take your electric tape and wind it around the bottle top so that it covers the seal. That will help your lid stay in place if it’s subject to any knocks. And it will avoid any smaller drips from getting onto the rest of the package.
You can use different kinds of tape if you wish. We like electrical tape because it’s easy to remove when your beer reaches its destination.
Step 4: Place your beer in plastic bags
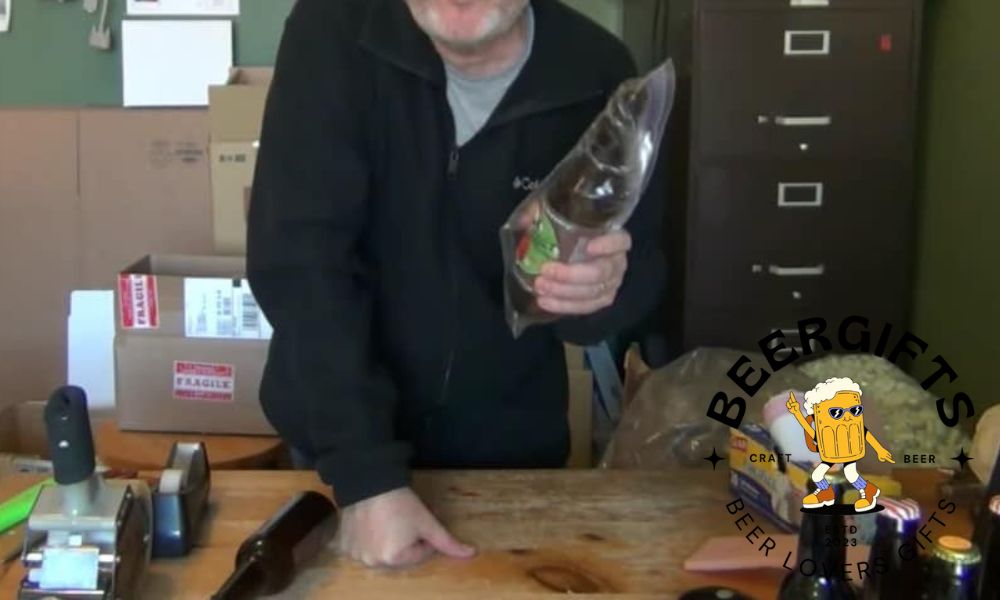
It’s now time to place each can or bottle into a plastic bag.
This might seem like overkill, given that you’ve already taped on any lids. But when you hand over your parcel, you won’t be able to ensure it’s handled with care! A few garbage or Ziploc bags won’t add much to your costs. And they’ll be a lot cheaper than losing your whole shipment because a can has burst.
Pro tip: Squeeze out as much air as possible from the bag before sealing it. If air is trapped inside and comes under pressure, it can split the bag.
Step 5: Wrap each bag
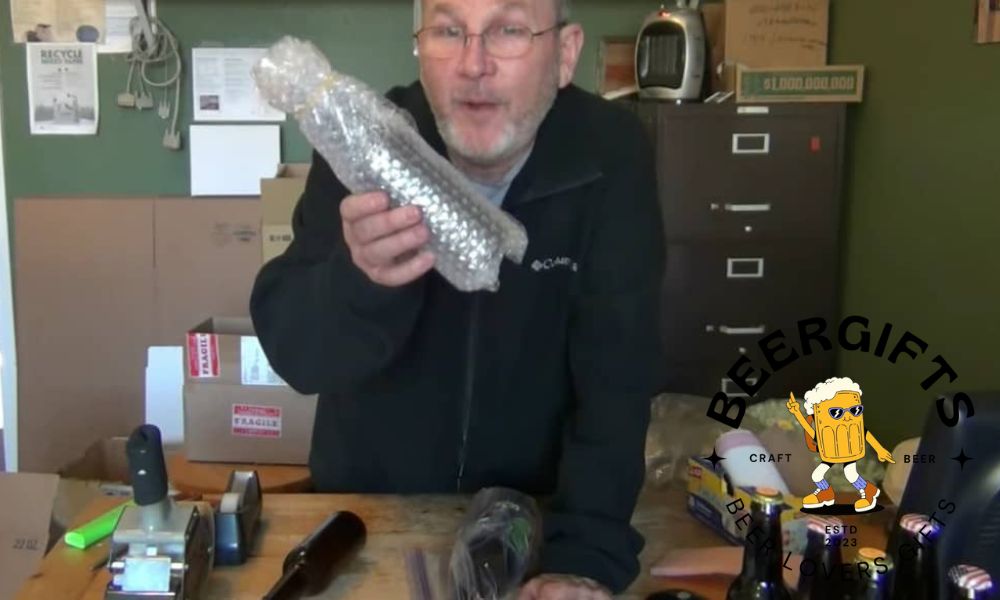
When you’ve sealed your bag, wrap it in bubble wrap. The simplest way to do this is just to roll it inside a length of wrap. Then turn your bottle or can through ninety degrees and repeat the process to cover the ends.
We recommend using at least three layers of bubble wrap for each can or bottle. The bubble wrap with the larger air pockets works best. But if you’ve got the stuff with smaller bubbles, that’s fine. Just add an extra layer or two to be safe.
Pro tip: Most people tape their bubble wrap to hold it in place, but we prefer to use rubber bands. They’re much easier to remove at the other end. And they won’t tear the bubble wrap, so it can be used again. Just make sure the bands are long enough to be wound around at least twice.
Step 6: Prepare your box
You now need to get your box ready for the beer. Assemble it if necessary, then place some padding in the bottom.
You can use some bubble wrap for this, or even crumpled newspaper. Just scrunch up enough sheets to cover the whole of the bottom of the box. Make sure you have a good, thick buffer between the beer and the outside world.
Leftover padded envelopes work well too. You can save a lot of money by reusing packaging for parcels that have been delivered to you.
This YouTube video from ClementsHomebrew walks you through the pros and cons of a range of different packing materials.
Step 7: Position your beers
It’s now time to put the beers into the box. Lay the bottles or cans parallel to one another, with extra newspaper or bubble wrap between them. If you need to pack more than one layer, add plenty of bubble wrap, crumpled newspaper or other paddings between each one.
When everything is inside – including any card or note you want to include – add more bubble wrap or packing. You want as much of a buffer between the contents and the top of the box as there was at the bottom. Remember, it’s quite possible that other parcels will be placed on top of it during its journey.
Make sure everything is packed snugly enough that it won’t move during transit. If there are any gaps, stuff in bubble wrap or crumpled newspaper.
Step 8: Seal everything up
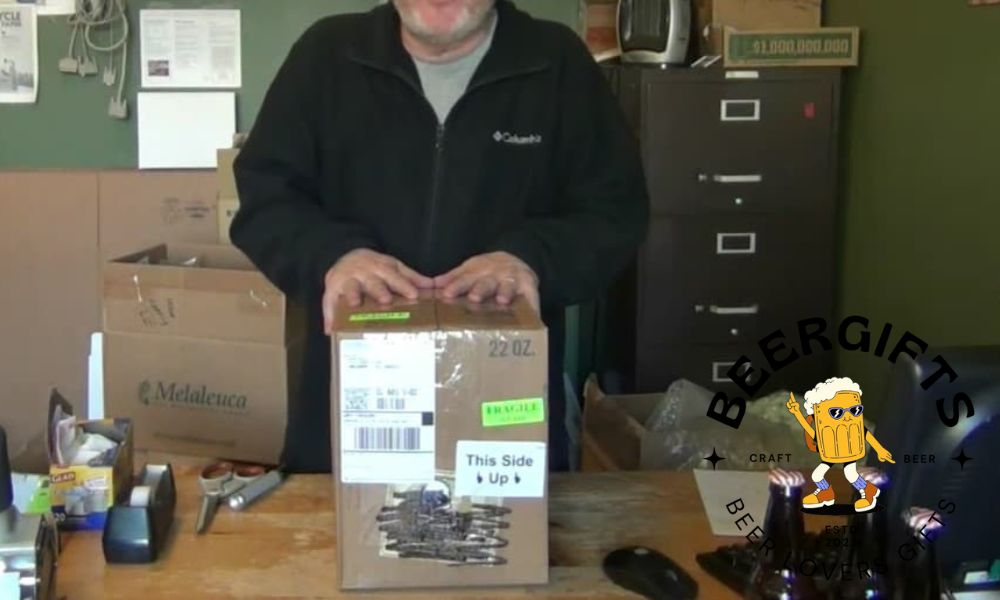
When the contents and padding are complete, seal the box and check the outside carefully. You don’t want any lumps or bumps.
If it looks like there’s a chance the box might burst, the carrier may require you to repack it. Just supposing you haven’t been entirely honest about what’s inside, you’ll find yourself in a sticky spot!
Seal up all the openings carefully, covering the joins with packing tape. When it comes to the amount of tape to use, more is most definitely more! You want to make sure there’s no chance of the box coming open on its travels.
Now take your sharpie and mark each side with “Fragile”.
You’re now all set to ship your beer!
Extra tips
Double boxing
- You can give your precious cargo even more protection by double boxing. For this, you’ll need two boxes, one slightly larger than the other.
- Follow the steps above to pack your beer into the smaller of the two boxes. Then place crumpled newspaper or bubble wrap into the bottom of your larger box. The smaller box is then placed inside.
- Add more padding around the sides and top, so the smaller box is held snugly in place.
Extra waterproofing
- If you’ve bagged up each bottle or can individually, you’re unlikely to have a problem with leaks. But you can give your beer extra protection by lining the inside of your box with a garbage bag.
- Leaks are one of the most common reasons for shipping companies pulling consignments. This simple step could be the difference between whether your parcel reaches its destination or not.
Consider molded shipping containers
- If you’re shipping a more expensive or precious beer, consider purchasing a shipping container. These are usually molded to fit wine bottles, and they’re extra robust.
- You can find molded containers in different shapes and sizes. Search online for something that will hold the right quantity for your needs.
Ready to ship your beer?
We hope you’ve enjoyed our step by step guide to how to ship beer!
If you can find a friendly local wine merchant with a license, you’ll save yourself a lot of stress. Doing it through a licensed supplier means you won’t have to worry about inquisitive postal staff questioning what you’re sending.
But whatever route you take, make sure you package your beer securely. Use sturdy boxes and plenty of packing material. And whatever you do, steer clear of glass bottles.
Good luck with your shipment – and we hope the recipient enjoys their beer!