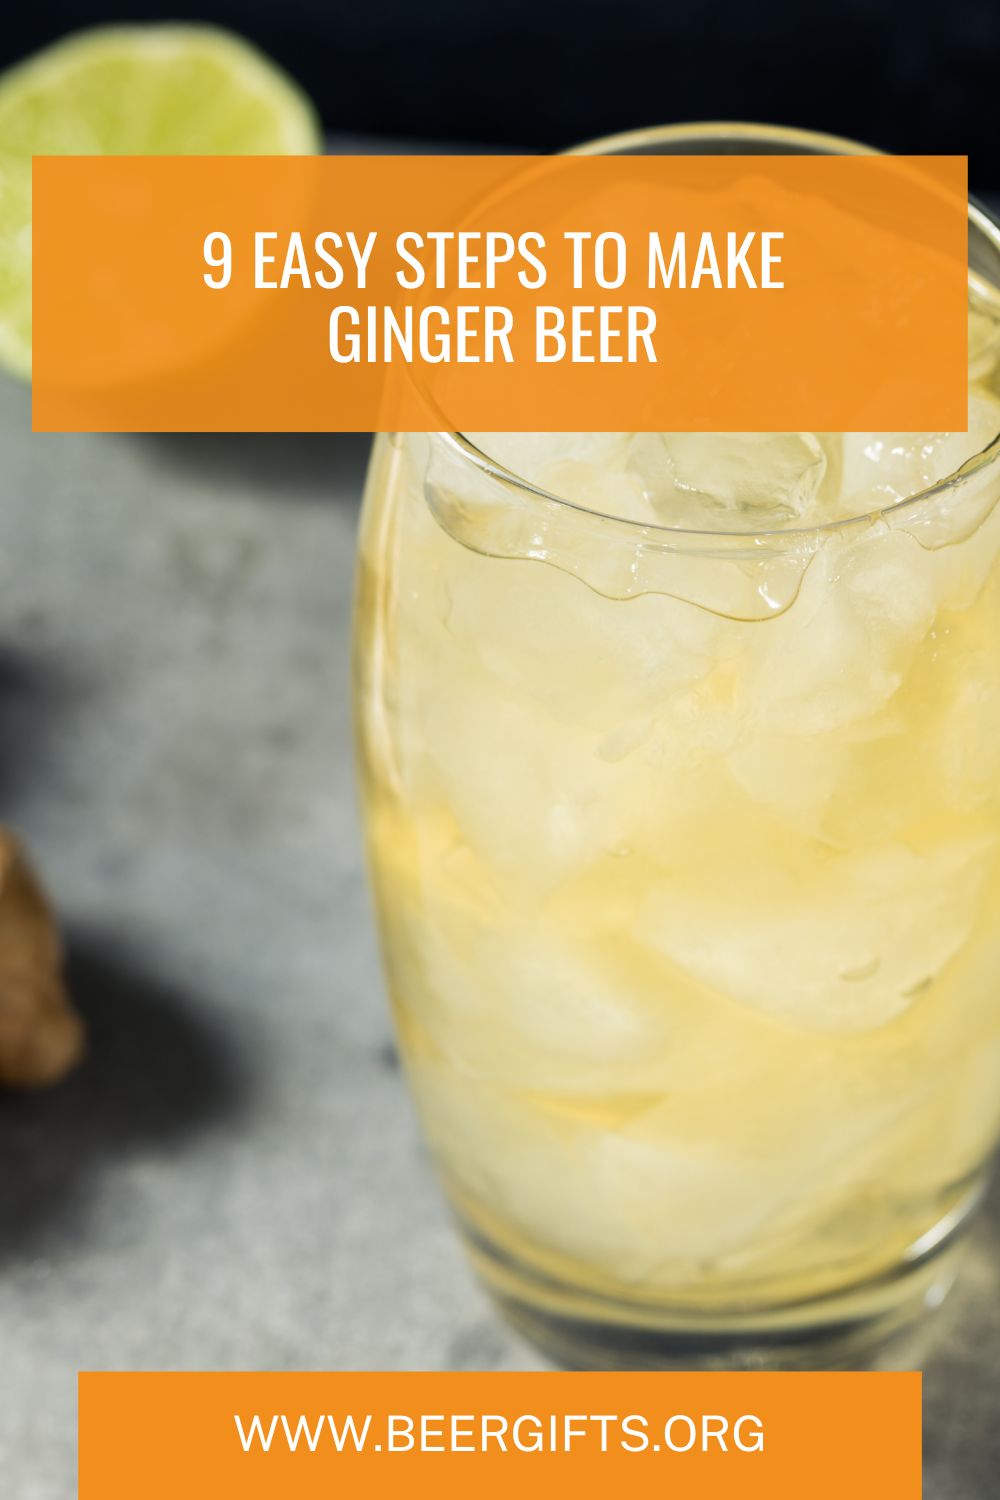
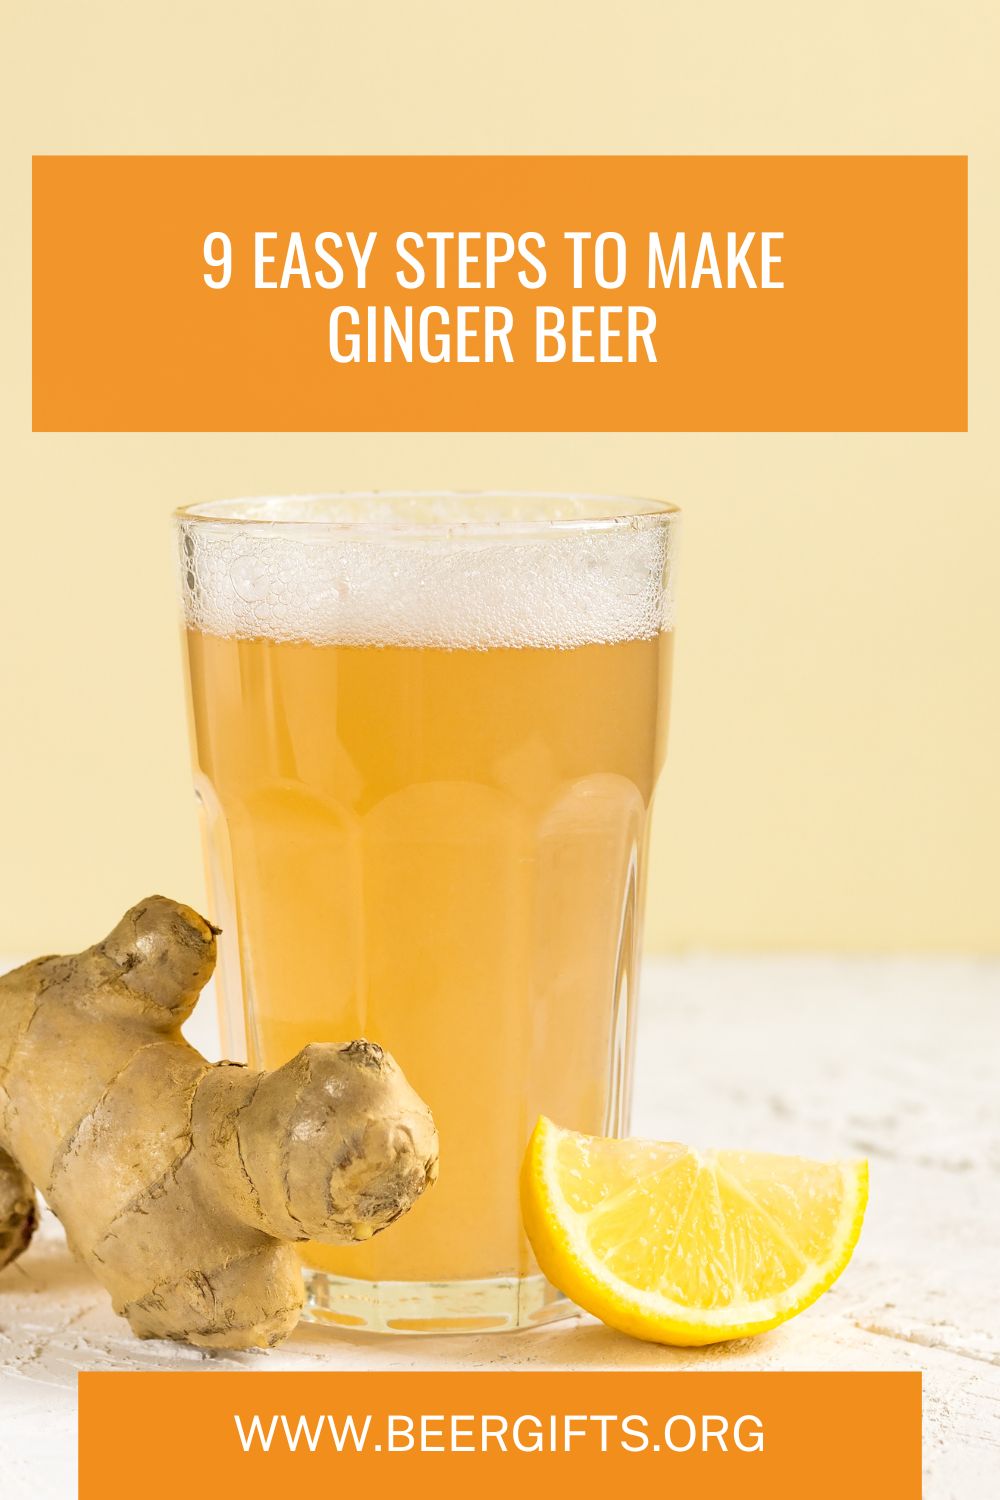
Fresh, clean, and crisp, ginger beer is as comforting as it is refreshing. It brings back childhood memories of sipping on home-brewed ginger ale and in adulthood, it is an easy go-to-beverage for a chilled-out weekend with the family.
Whether you want to whip up something fast or you don’t mind experimenting with fermentation, there are numerous ways to make ginger beer.
In this article, we’ll go the fermentation way and show you how to make ginger beer using a homemade ginger bug or ginger starter. This method is slightly longer but it is well worth it. In the end, you will enjoy a wickedly delicious beverage.
Supplies for Making Ginger Beer
- Two 1 liter jugs
- Cheesecloth and string for tying
- Long-handle spoon
- Plastic bottles with seals
Recipe for ginger beer
- 2-cups table sugar
- 1-liter distilled water
- 3 to 4 lemons
- 2-inch piece of fresh ginger
- Assorted fresh fruit, herbs, spices
Step-by-Step Guide To Make Ginger Beer
Follow these steps and enjoy brewing your own homemade ginger beer.
Step 1: Prepare the ginger bug
A ginger bug is a syrup made using fresh ginger, sugar, and water. It acts as a natural yeast for fermenting your ginger beer.
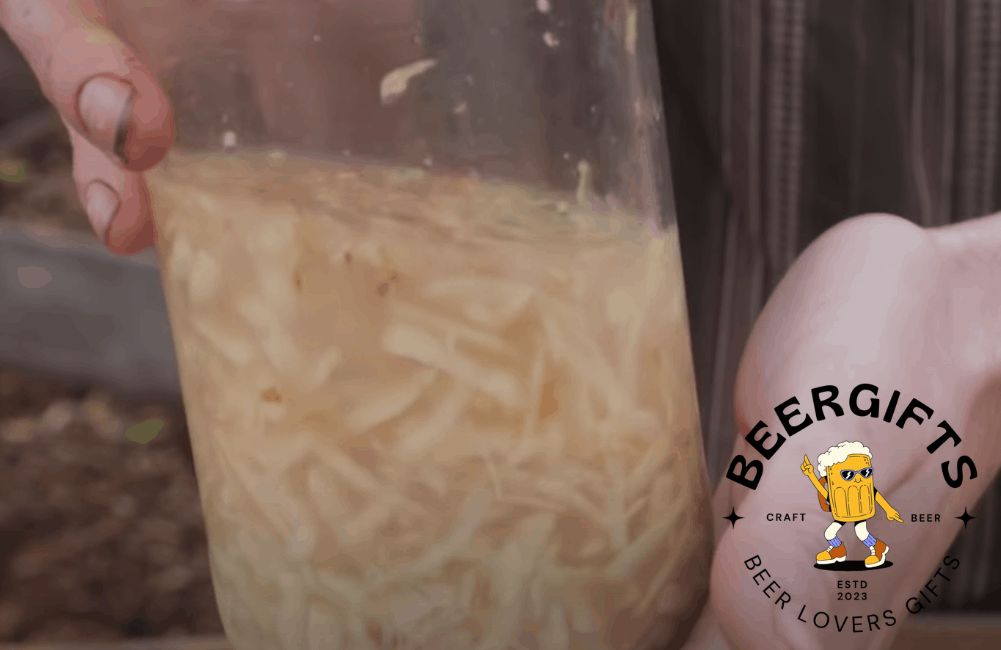
To prepare ginger bug, also known as ginger starter, grate 1 tablespoon of fresh ginger. In a glass jug, add 2 cups of distilled water, 1 tablespoon of sugar, and the grated ginger.
Mix the concoction and then cover the jug with a breathable material such as a kitchen towel or cheesecloth.
If you want to learn more about homemade ginger bugs, you can check out this helpful video.
Step 2: Store the jar away
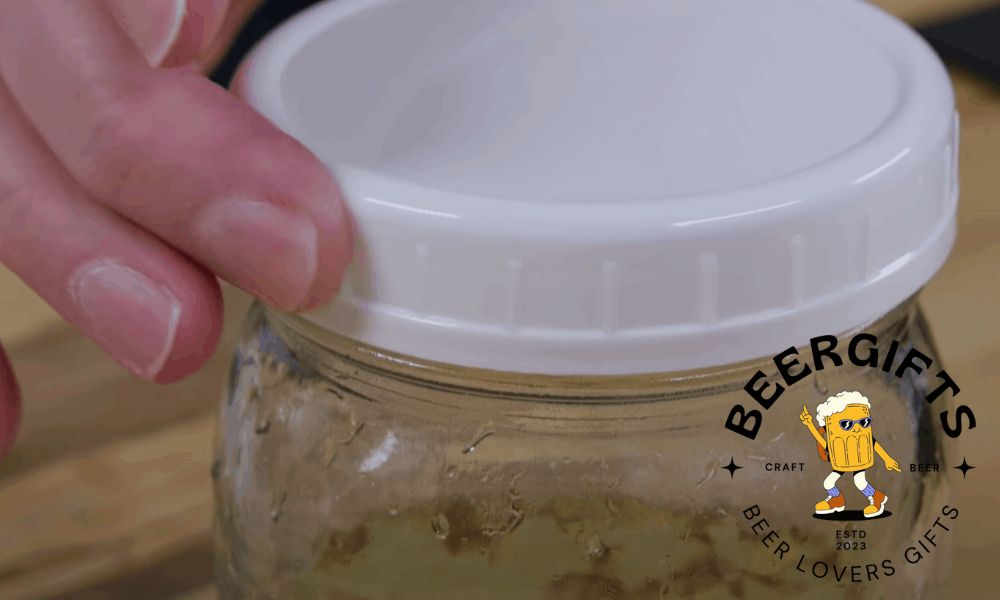
Place the jar in a warm, dark, and quiet spot for 24 hours. Ginger starter requires a temperature range of between 70oF and 85oF. The warm temperatures enable the yeast and probiotics contained in the ginger to reproduce.
Step 3: Feed the starter
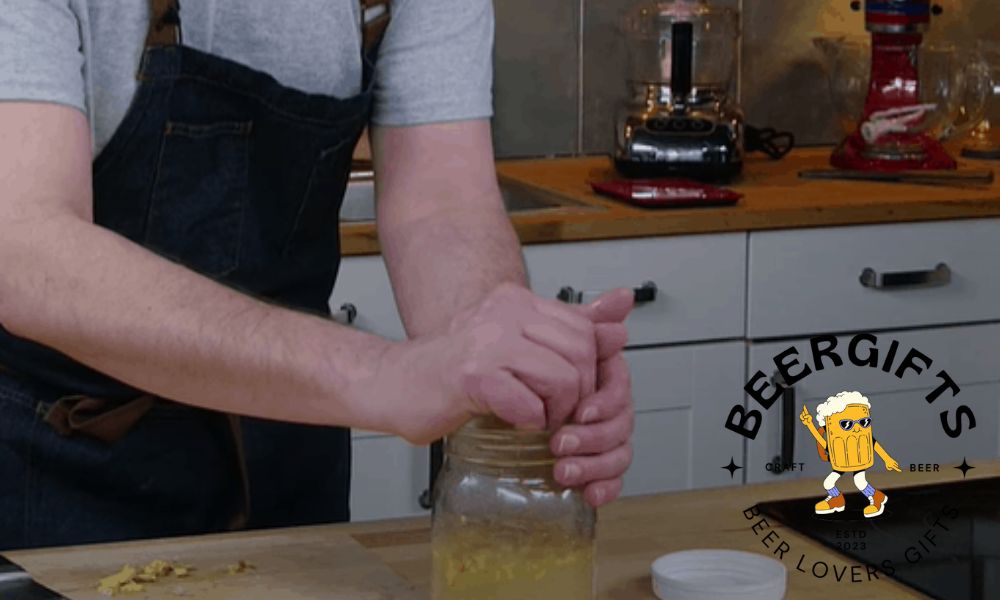
You will need to feed the ginger bug for it to reproduce. Every day, for one week, add a teaspoon of ginger and another one of sugar to the jar and stir thoroughly. Be sure to stir the mixture several times a day to help activate the production of yeast and probiotics.
As the starter releases the yeast, you will notice a whitish substance forming at the bottom of the jar. This is the source of probiotics, which you will use to ferment your ginger beer.
Step 4: Wait for the starter to ‘ripen’
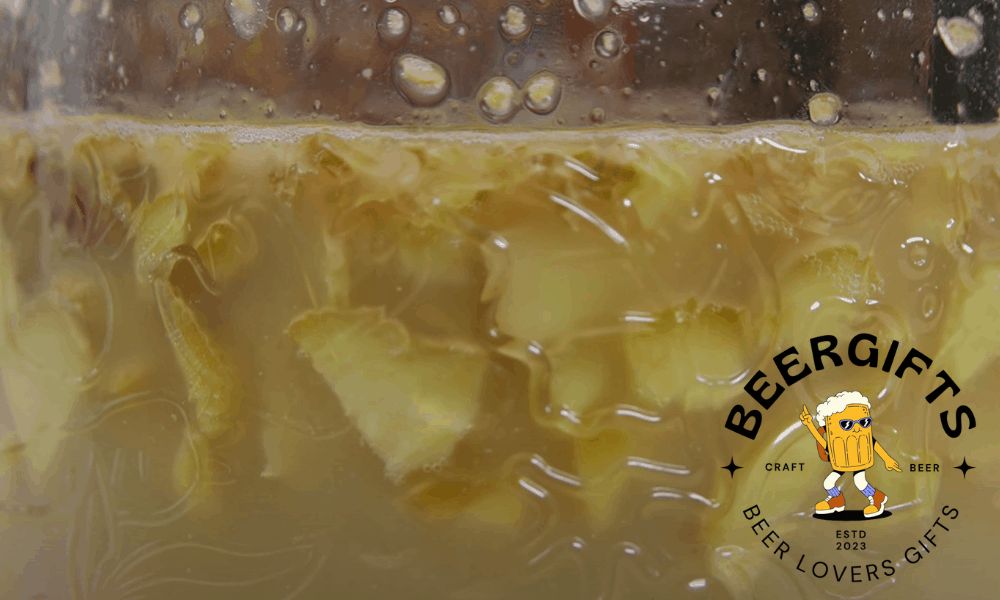
After about 5 days, the mixture will start to produce bubbles whenever you stir it. This is a good sign and it shows that the fermentation process is underway.
After storing your jar for about 10 days, you will not only see but also hear the bubbles! At this point, it is okay to be thrilled; we were also super excited the first time we prepared a ginger bug.
Pro Tip: If your house is cold, you can speed up the ripening process by wrapping the jar in a heat blanket or a similar item that will generate sufficient heat to activate the probiotic. If there is no bubbling after 7 days, keep feeding the bug with 1 teaspoon of sugar and another one of ginger.
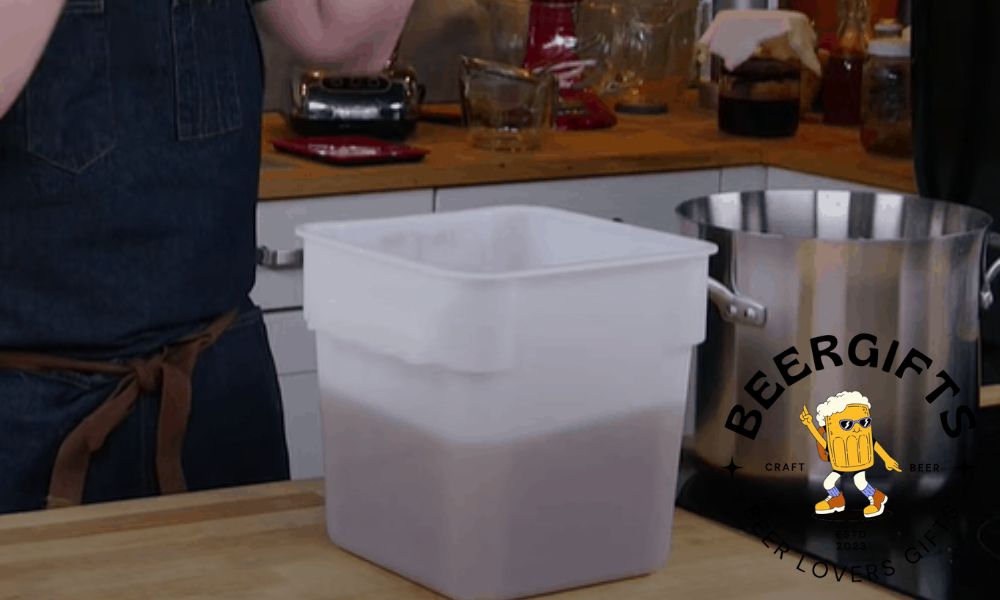
Step 5: Mix the ginger starter with water
Now that you have the starter ready, your next step is to brew the ginger beer. To get started, add lukewarm distilled water to a gallon-sized container.
Next, add a cup of the starter to the container. Also, add half a cup of lemon juice, one and a half cups of sugar, and a half cup of grated ginger. Stir thoroughly.
Step 6: Store the mixture in ideal temperatures
After mixing the starter with water, cover the container with cheesecloth and, again, place it in a warm, dark spot. Let the mixture sit undisturbed for 7 to 10 days.
During this time, you should regularly taste the mixture. Check if you need to add more sugar to increase the sweetness level. Just be sure not to add more than 4 teaspoons to the mixture, as too much sugar will kill the probiotics.
Give the mixture a good stir at least once a day. As the ginger produces the natural yeast, a white substance will form at the bottom of the jug. Just as the first time when you were making the starter, there will also be bubbling, which is a sign that the ginger beer is ready!
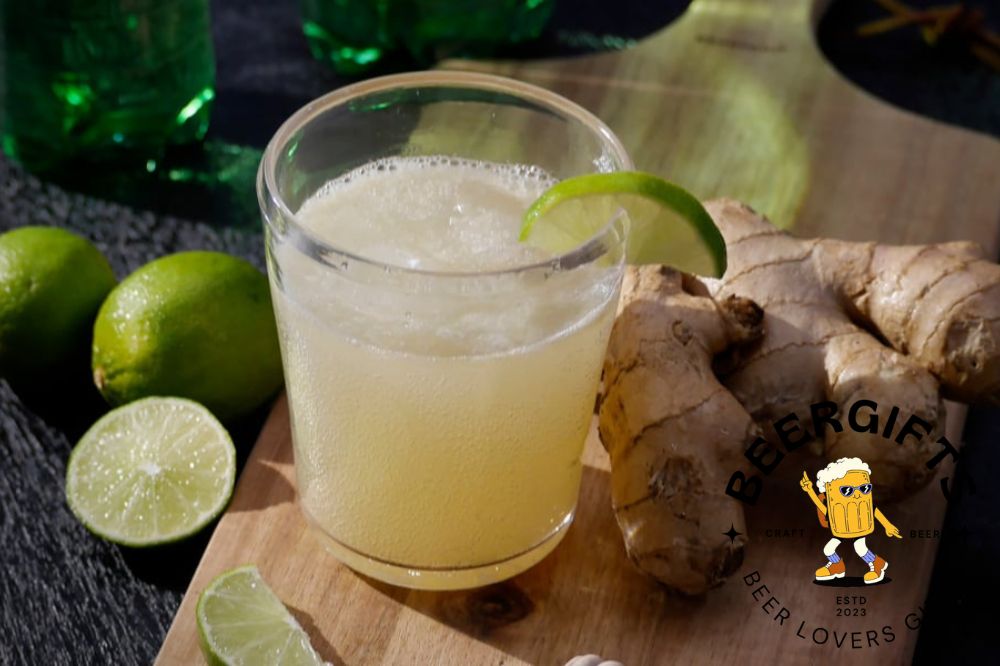
At this point, you can bottle your ginger beer and serve it over ice. The ginger and lemons provide a nice, spicy, and refreshing flavor. But, if you want to throw in additional spices or your favorite herbs, you can move on to the next step.
Step 7: Add fizz to the beer
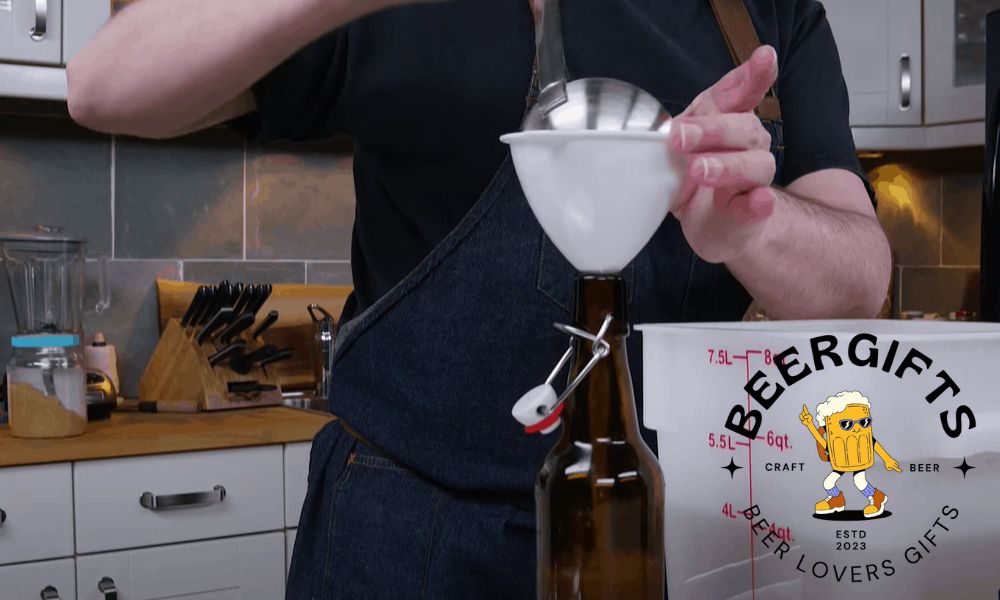
Before adding flavor to your ginger beer, you can also add some crispiness or fizz to it. Transfer the ginger beer to bottles and seal. Do not filter the beer; just store it whole with the residue.
Place the bottles in a dark spot for 3 to 5 days. The pressure in the bottle, caused by the formation of CO2, will cause the drink to become very fizzy.
If your house or storage spot is particularly warm, carbonation can take place faster than expected. We recommend that you open the bottles at least twice a day to check for sweetness and the level of carbonation. Keep an eye on the bottles to ensure that they do not explode.
Step 8: Add flavor to the drink
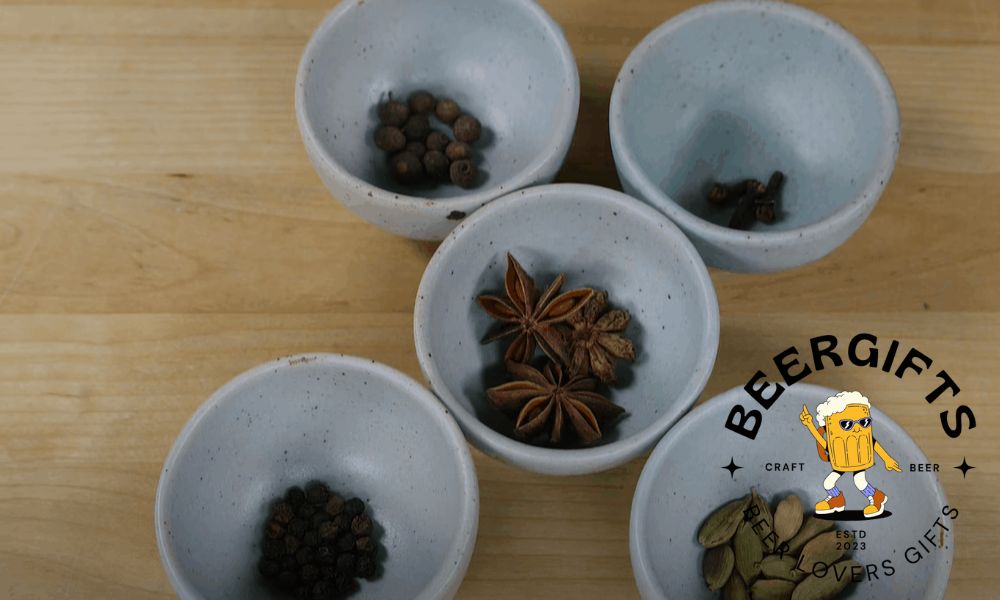
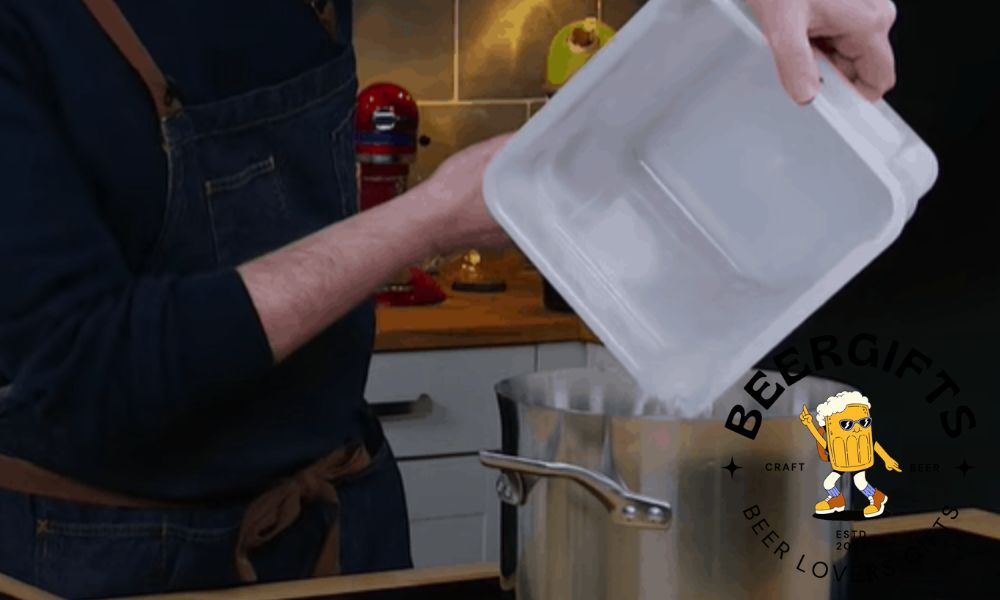
To flavor your ginger beer, you only need readily available fresh herbs and fruit. Then, in a saucepan, mix ½ cup water, ½ cup table sugar, 2 ½ cups of your chosen fruit. You can also throw in your favorite herbs at this point.
Boil the mixture on medium heat and then lower the heat and cook the fruit to a mash. Allow the fruity slurry to cool before adding to the bottles where you will store your ginger beer.
Next, fill the rest of the bottles with the ginger beer. Seal the bottles tightly.
Step 9: Do a secondary fermentation
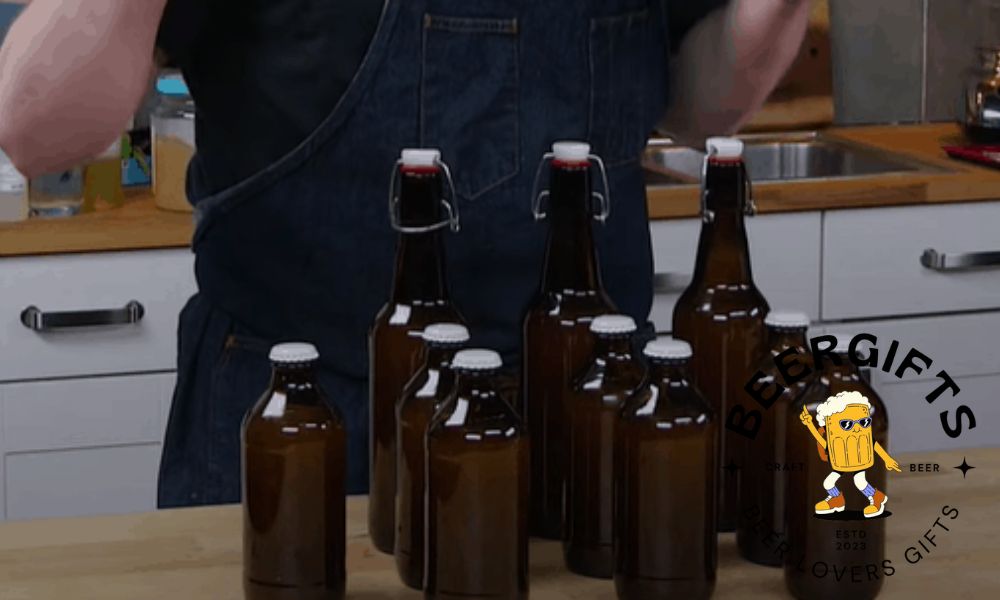
Now that you have added natural flavors, you will need to ferment the ginger beer again for the flavors to really mix in.
Store the flavored ginger beer at room temperature for 3 to 4 days for fermentation to take place. Then, move the bottles to the refrigerator and chill the ginger beer. Refrigeration helps to slow down the fermentation process.
At this point, your ginger beer is ready for consumption. Try to drink it within one week to enjoy maximum freshness. The quality of ginger beer deteriorates fast; the drink will lose its sweetness and fizz if left undrunk for more than 7 days. So, you better drink up!
Extra Tips
- Ginger starter is highly prone to molding and spoilage. It is really important to maintain high levels of hygiene with your equipment and around your kitchen. If you notice even a small amount of mold on the ginger starter, you should bin the starter and make a new batch. Some types of molds are dangerous and can get you seriously ill if consumed.
- Avoid flat ginger beer by bottling it only when you see tiny bubbles rising to the top of the mixture. These bubbles show you that the beverage does contain probiotics, which is a good thing. Probiotics have many health benefits.
- Sometimes, the yeast in the starter can consume all the sugars in the jar, which can make the ginger beer less sweet. If you want the final product to be sweet, just add sugar or a sweet juice to the ginger beer itself before storing it in bottles.
- Be careful when opening the bottles during or after fermentation. Fermentation, especially where probiotics are involved causes pressure to build up in the bottle that can lead to a potentially dangerous explosion. Always point bottles away from your face and others.
- Sometimes, even after 3 to 4 days of secondary fermentation, you might not notice any fizz in the drink. This doesn’t mean that your drink isn’t any good. If the drink still tastes sweet, it means there is still sugar in there that needs to be fermented. In this case, leave the bottles undisturbed for another 2 or 3 days for the probiotics to consume the sugars and for the drink to gain its fizz.
- Avoid using glass bottles during fermentation. Fermentation creates pressure inside the bottle, which can result in a potentially dangerous explosion. It is safer to use plastic bottles so you can easily relieve pressure by squeezing the bottle.
Are you looking forward to making your own ginger beer? It’s easy. Try it today.
Now that you have learned how to make ginger beer, we doubt that you will go back to the store-bought stuff.
Apart from the health benefits of probiotics, with homemade ginger beer, you can control the level of sweetness and fizz in your drink.
The best part is that you can experiment with any number of spices, herbs, and fruit to come up with a signature beverage that truly speaks to your taste buds. Cheers!