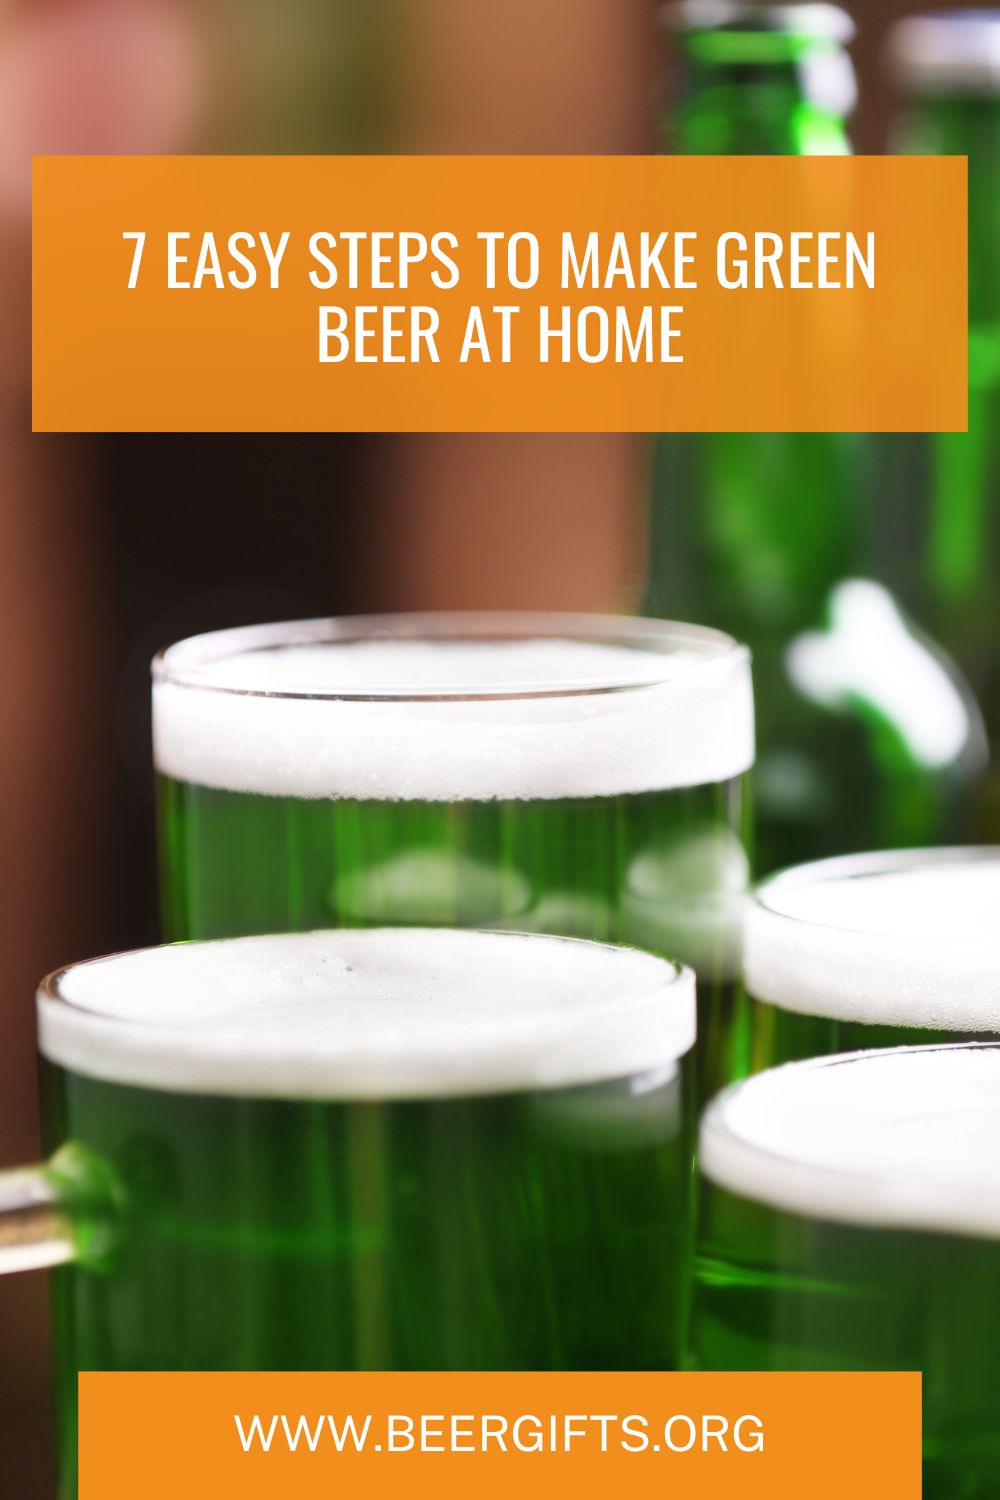
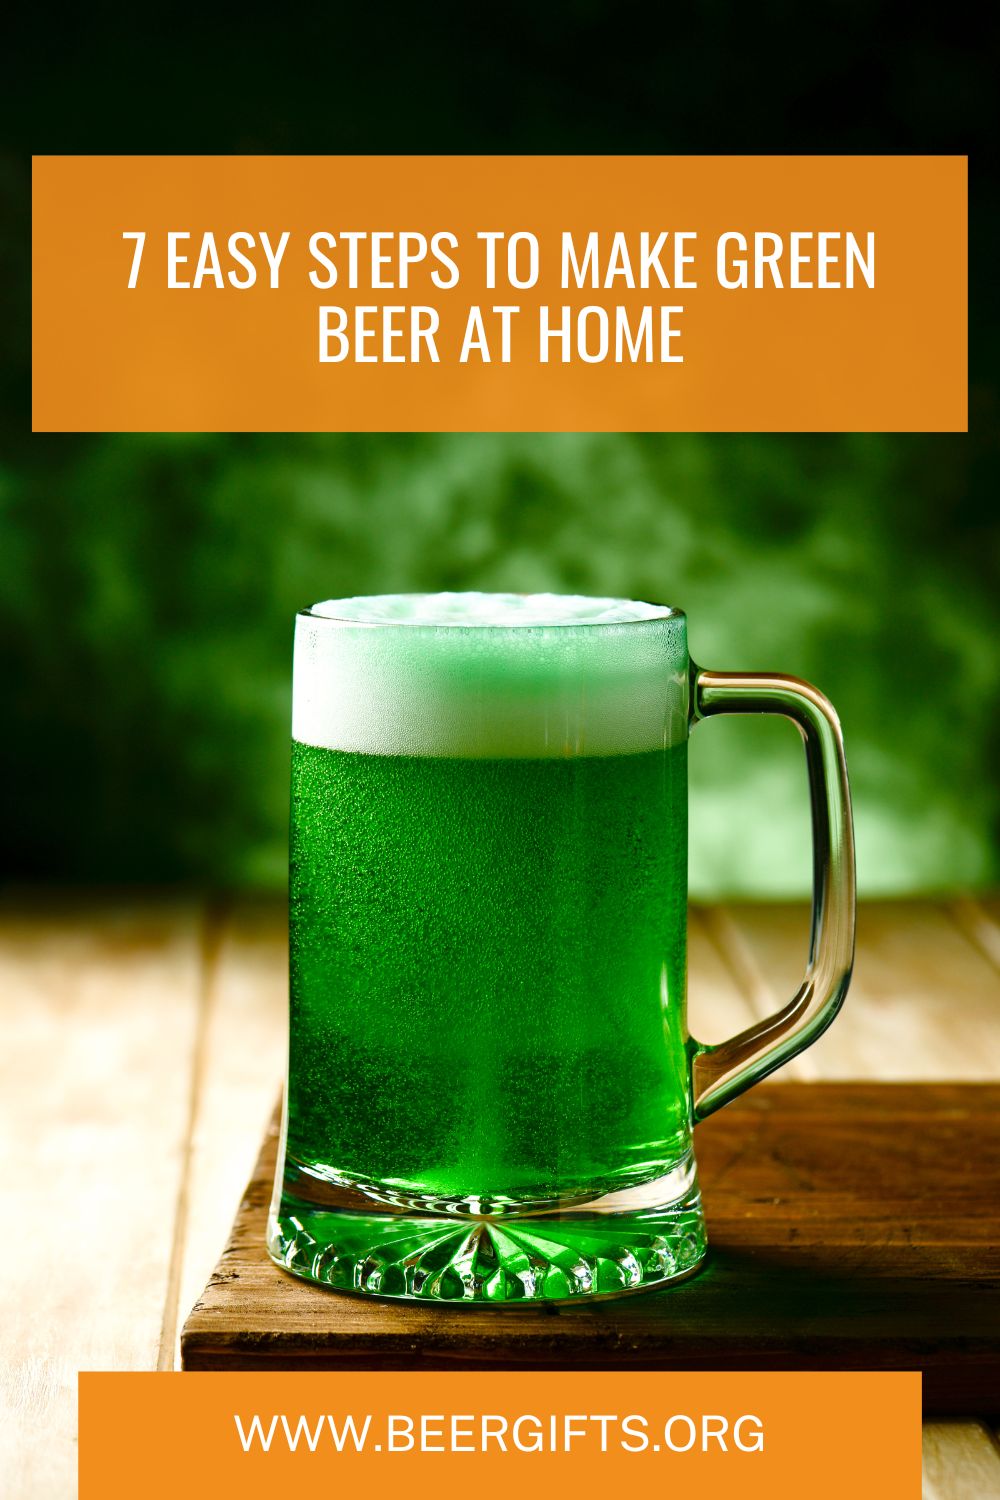
Have you ever drunk emerald-colored beer at the bar? Are you looking to replicate it at home? Exotic as it looks, green beer is actually easy to make.
You don’t need extra equipment or special bartending skills to make colored beer. Believe it or not, the process is as simple as mixing food coloring with your favorite homemade brew. Don’t worry—the color will not affect the taste of your beer.
Whether you are celebrating Green Beer Day, St.Patrick’s Day, or you are feeling creative, we have the perfect recipe and guide on how to make green beer. Read on!
Tools and Supplies For Making Green Beer
- 5-gallon fermenter vessel with lid and airlock
- 5-gallon bottling bucket with a spigot
- Tubing and auto-siphoning wand
- Hydrometer
- Cleaning and sanitizing supplies
- Long handle plastic or stainless steel spoon
There are many green beer recipes but this particular one is our favorite. It is easy to whip up and makes a light/clear beer, which can be easily dyed.
- 9 lbs American 6-row malt
- 25 lb Crystal malt
- 1/2 lb malt extract
- ½ oz Columbus hops (add at 60 minutes)
- ½ oz Centennial hops (add at 15 minutes to flameout)
- ½ oz Cascade hops (add at 5 minutes to flameout)
- 1 oz Cascade hops (add at minutes)
- 1 ½ centennial hops
- Wyeast 1272 yeast
- 3 to 4 drops blue food color
- 6 gallons tap water
Step-by-Step Guide To Make Green Beer
Follow these simple steps and check out the tips below to successfully make green beer.
Step 1: Clean and sanitize brewing equipment
Before you begin brewing, you must not only clean but also sanitize all the equipment you will use.
Sanitizing helps to kill harmful microbes that can interfere with the brewing process and contaminate your beer. You can learn more about sanitizing your brewing equipment.
Step 2: Steep the grains
As you will notice, in this recipe, we will be using grain malt instead of whole grain. Both malts and whole grains produce more or less the same results.
If you are new to homebrewing, grain malts are the way to go. Malts are simply pre-made mash. They are easier to use and take out the hassle of milling and manually mashing the grain to produce wort.
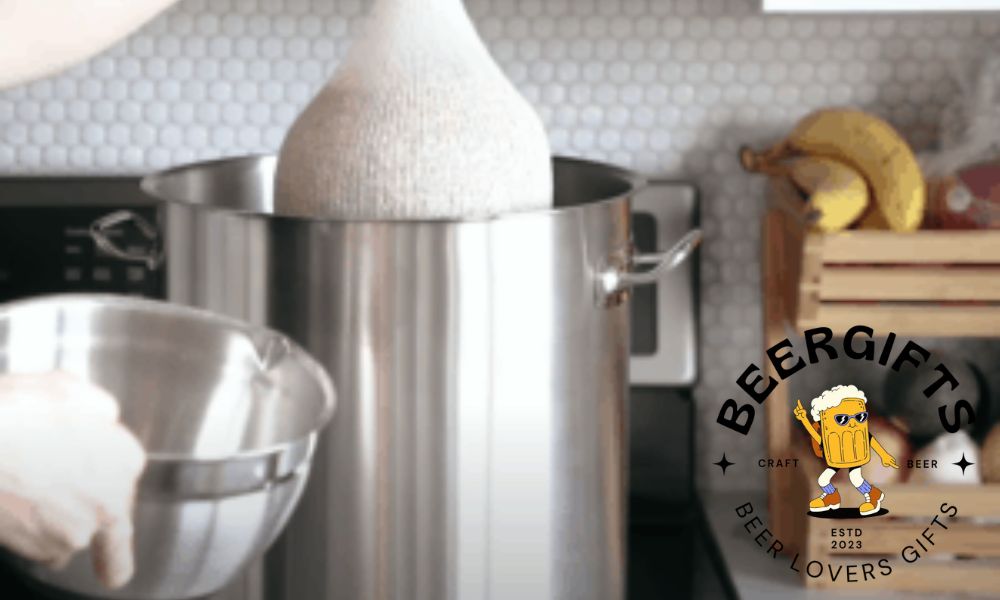
To steep, put the malt in a grain bag and tie the bag at the top, leaving space for the grain to expand. Pre-heat 1.5 gallons of water in the brewer’s kettle and then, lower the grain bag containing the grains into the hot water in the brewer’s kettle.
Gradually, increase the heat to bring the water temperature to about 150°F to 160°F. Turn off the heat and let the grain bag steep for 20 minutes at this temperature. The grain bag should not sit at the bottom of the brewer’s kettle; instead, it should be suspended halfway or on the surface of the water.
After 20 minutes, remove the grain bag from the brewer’s kettle. Allow the liquid to drain from the spent grain into the kettle. The water that is left behind in the kettle is known as wort, which is essentially beer that is yet to be fermented.
Pro Tip: If you want to make 5 gallons of beer, you will need to top up the wort before fermentation. During the mashing process, some of the liquid evaporates and reduces the amount of fermentable wort.
Step 3: Add malt to the wort
Next, put the heat back on and bring the wort to a rolling boil. Boiling helps to pasteurize the wort and to get rid of potentially harmful bacteria and microbes. Boiling simply goes a step further to make your beer safe to drink.
Once the wort boils, add the malt extract liquid and stir until it dissolves. Malt extract gives the beer its characteristic flavor and aroma. There are two categories of malt extract: dry malt and liquid malt and each has its pros and cons but the choice depends on your preference.
Liquid malts are generally easier to use, more easily accessible and are less expensive. Dry malt extract on the other hand has a longer lifespan and is easier to measure when using in a recipe.
Malt extracts give beer its characteristic flavor and aroma. The extract also helps to increase the gravity of the beer you are brewing. Here is a neat explainer on everything you need to know about beer gravity.
When you add the malt extract, stir continuously until it dissolves. Be extra careful with this because dry malt extract clumps up easily at the bottom of the pan. You can avoid this by stirring vigorously and continuously for a few minutes.
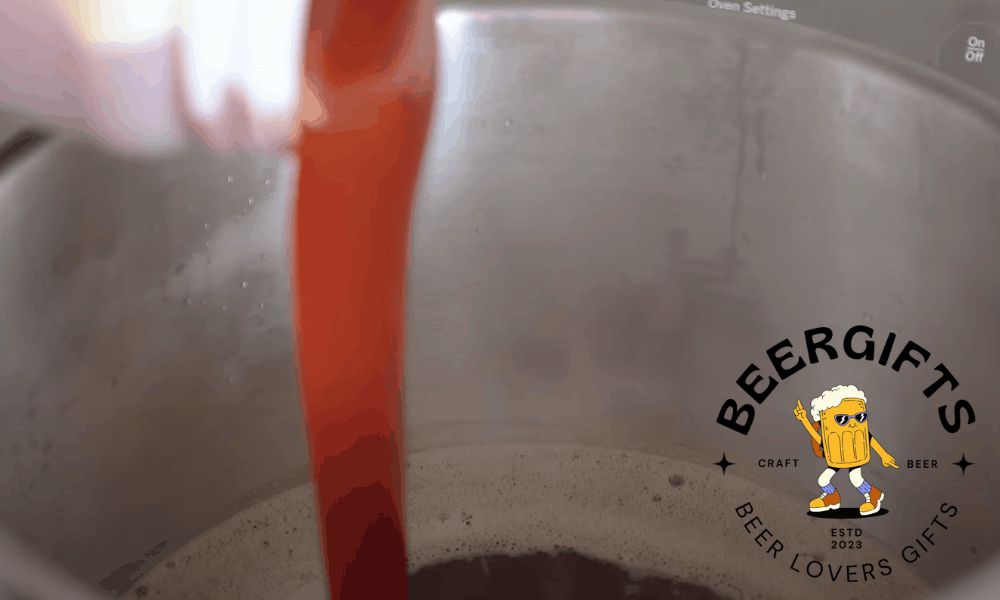
Step 4: Add hops to the wort
With the malt extract stirred in and dissolved, set a timer for 60 minutes and add the Columbus hops. Hops are the plant cones that give beer its added bitterness.
Hops come in different types and we would recommend that you have a look at this video on how to choose the right hops for your homemade dinner.
Generally, if you are looking for your green beer to be less bitter and sweeter, opt for hops with a low International Brewing Units rating i.e. those that have a low alpha acid content and are therefore less bitter.
As soon as the wort comes to a boil and the malt extract is stirred, add your whole hops to the wort and stir. After 45 minutes of the wort boiling, add the Centennial whole hops to boil for 10 minutes, and then add the Cascade whole hops in the last 5 minutes before the end of the boiling process.
Step 5: Cool the wort
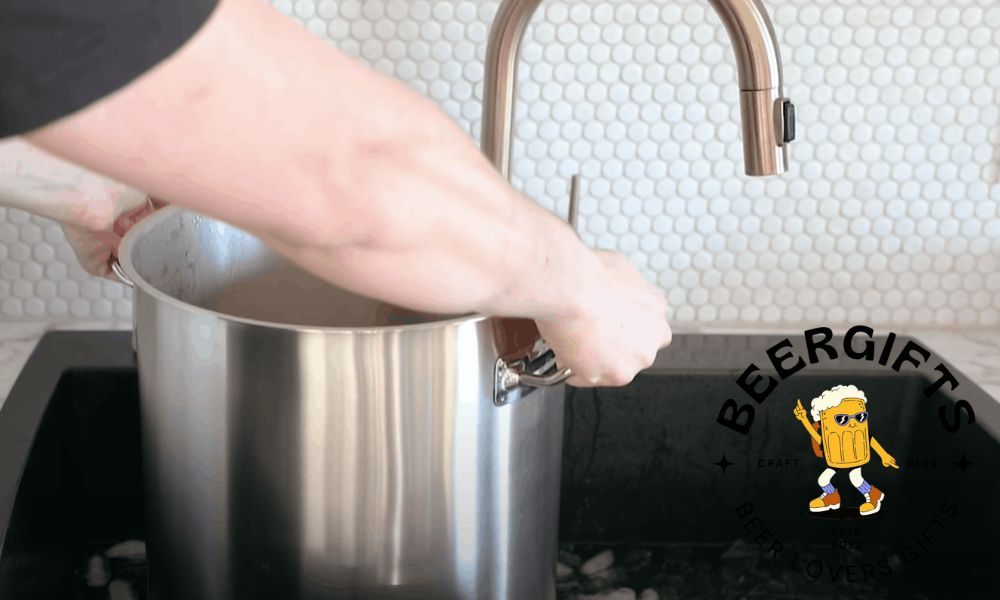
Turn off the heat and transfer the brewer’s kettle to an ice bath to cool the wort. It is important to cool the wort completely before pitching the yeast because heat will kill off the yeast. Without active yeast, fermentation will not take place.
Allow the wort to cool to below 85OF then transfer it to the fermenter vessel. Make sure that the fermenter is sanitized before pouring the wort in. Add refrigerated water to increase the amount of fermentable wort. Slowly pour the wort into the fermenter, leaving behind any malt or grain residue.
Step 6: Pitch the yeast
Once the wort cools to the desired temperature, it is time to add the yeast. But, first, there are two things you will need to do.
You will first measure the original gravity of the wort to find out the number of fermentable sugars. Note this number as you will use it later to determine the alcohol by volume content of your green beer.
Next, aerate the wort before pitching the yeast. To do this simply give the fermenter vessel containing the wort a good shake for about 5 minutes. This will provide the oxygen that the brewer’s yeast needs to do its job of fermenting the wort.
Follow the manufacturer’s instructions for activating the yeast. Generally, you will need to mix the dry yeast with water at room temperature and set it aside for 10 to 15 minutes.
Once the yeast is activated, pour it into the wort and vigorously shake the fermenter to mix the wort with the yeast. Ensure that the wort is fermented at between 68 °F and 70 °F.
Place the fermenter vessel in a warm, dark, and quiet place. A few days after pitching the wort, you will notice bubbles rising in the airlock on the fermenter vessel. This is a sign of fermentation. Allow the wort to ferment for one or two weeks or until bubbles no longer rise to the surface of the wort.
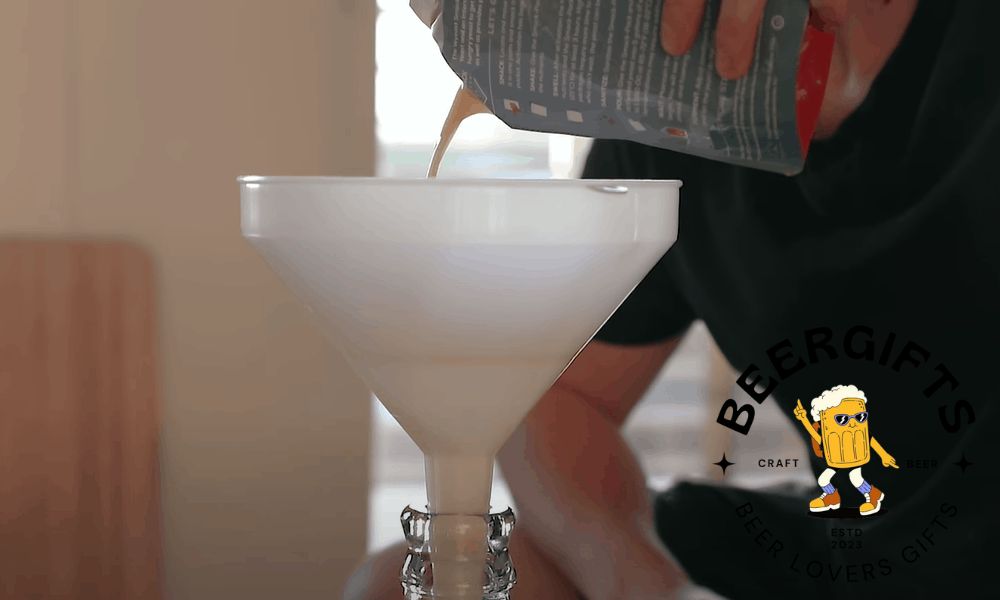
Step 7: Color the beer
Once fermentation is complete, you can transfer the ready beer from the fermenter vessel to the bottling bucket.
Before bottling, you can carbonate the beer by adding a mixture of water and sugar to the bottling bucket containing the beer. Stir for 1 minute.
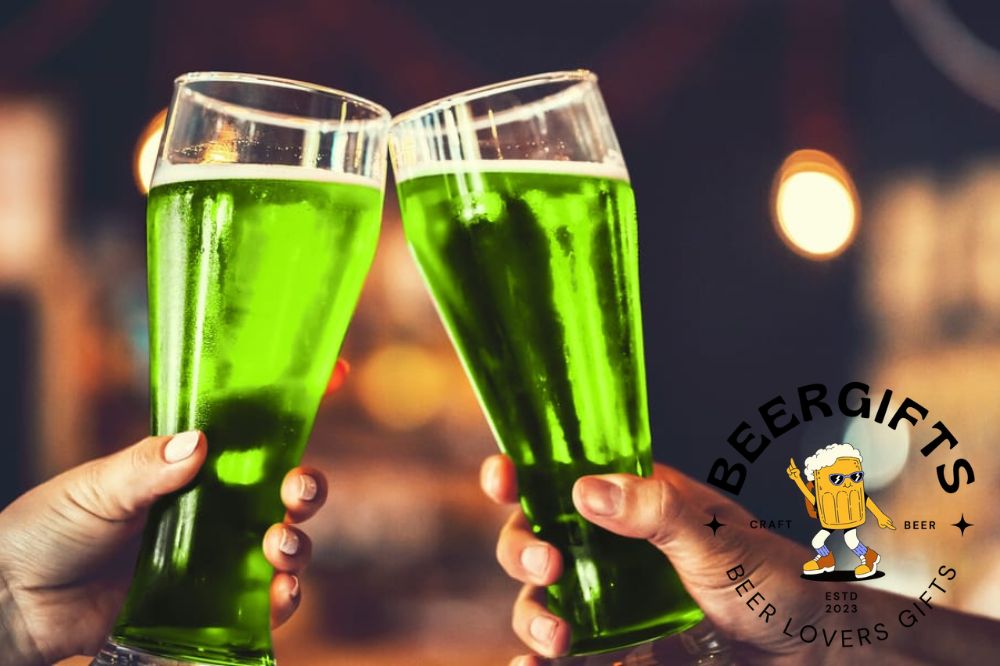
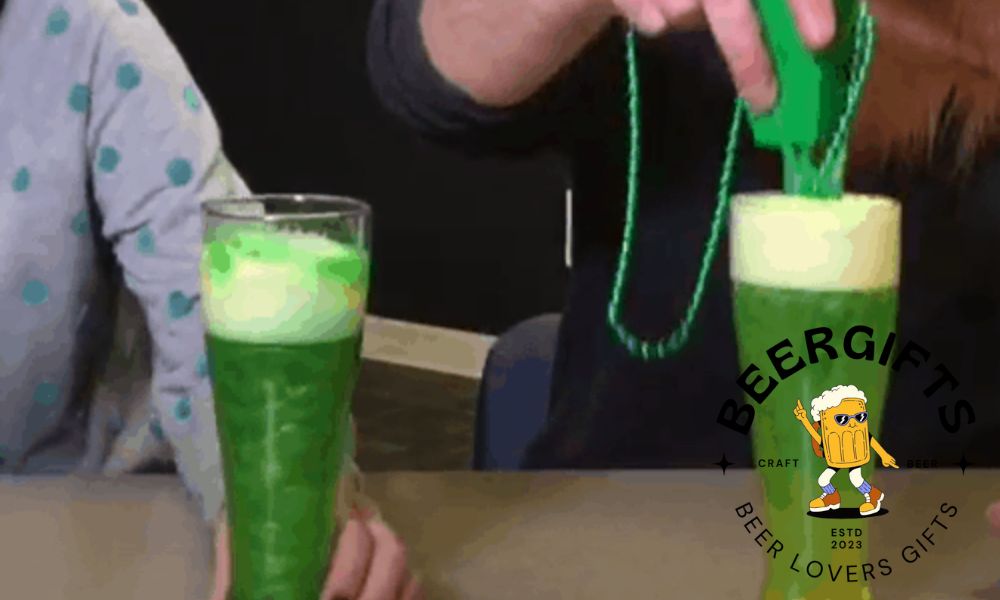
At this point, you can dye your beer by adding blue food color into the fermenter vessel. We use blue instead of green food color because when the goldish color of the beer mixes with the blue dye, the result will be a nice emerald green color.
Once you add the food color, give the beer a good stir and it will be ready for bottling. If you would like to learn more about the best practices for bottling homemade beer, check out this helpful resource.
Extra Tips
- Your choice of beer will determine the shade of green the dyed beer will have. For a light green shade, brew a light-colored beer. For a rich, emerald green, a slightly darker beer will do the trick.
- Once you prime and bottle the beer, don’t refrigerate immediately. Instead, leave the bottled and sealed beer at room temperature for one or two more weeks to allow further carbonation, which will result in a crisper, more refreshing beer. Refrigeration temporarily stops the yeast action, which also means that carbonation will stop too.
- Food color will not tamper with the taste of your beer but if you’d rather go natural, you can use natural colorants such as freshly made green juice or spirulina.
Summary
Making green beer is a fun project and it is a crowd-pleaser as well—talk about a double whammy.
To keep things simple, just brew your beer and add a few drops of food color. But, you always have the option of using natural ingredients.
Follow our easy home-brewing recipe and you will be well on your way to wowing your mates with a beautiful green beer.