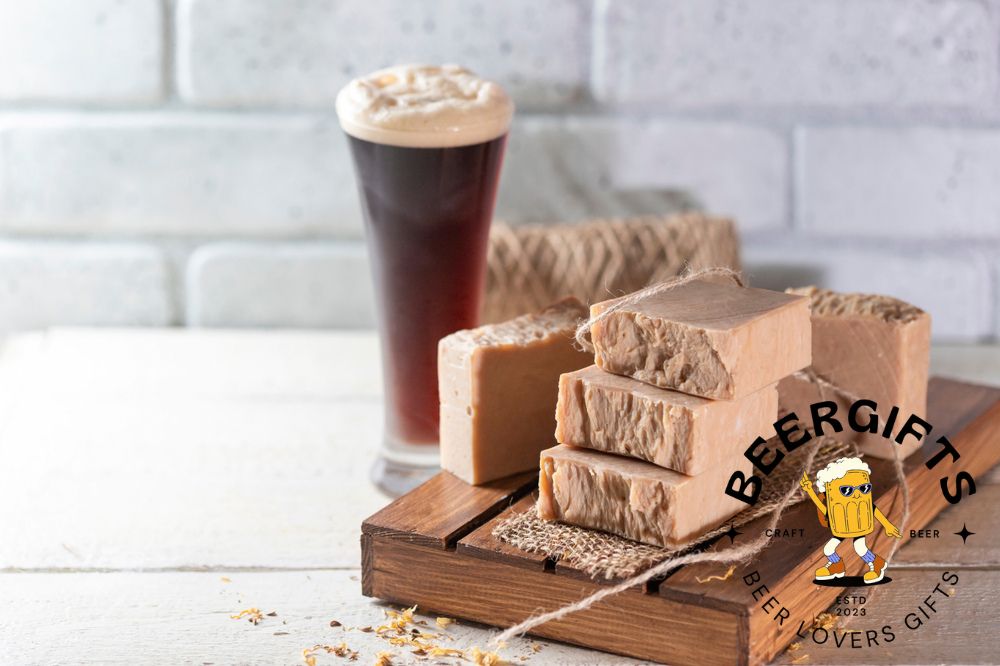
Do you fancy the idea of lathering up in boozy soap? Beer is said to have amazing benefits for the skin including exfoliating dead cells, brightening pale skin, minimizing oil production, and even fighting acne.
So, whether you just want to use up that stash of extra grain or to soak up in suds of your favorite booze, making soap using beer is a rewarding afternoon project. The beer works as a substitute for water.
You don’t need special equipment or hard-to-find ingredients. But, you do have to move fast to avoid saponification. We wrote this article to show you how to make beer soap just like the pros. Read on and give our recipe a try.
Tools and Supplies For Making Beer Soap
Gather the following items in preparation for your soap-making project.
- Brew kettle
- Large spoon or ladle
- Immersion blender
- Spent beer grain
- Thermometer
- Plastic pitcher
- Pyrex measuring jug
- Soap molds
Here is our favorite beer soap recipe:
- 10 oz coconut oil
- 1 oz olive oil
- 3 oz cocoa butter
- 3 oz shea butter
- Pharmaceutical grade lye (potassium chloride)
- 12 oz beer
- 30 drops of essential oil
Step-by-Step Guide To Making Beer Soap
Follow these steps to learn how to make beer soap.
Step 1: De-carbonate your beer
A day before making your soap, you will need to remove the carbon dioxide from your beer. It is really important that you use flat beer for safety purposes.
Regular beer containing CO2 can have an explosive reaction when mixed with the other ingredients. Obviously, this is not something you want to happen. Also, since you are making a solid beer soap, you do not need the CO2 bubbles found in beer, which is another reason to de-carbonate the beer before using it.
To remove CO2, simply pour the beer into a plastic pitcher and leave it on the counter overnight. Stir up the booze to speed up the de-carbonation process. You will know that the beer is flat when it does not have any visible bubbles and is bland to the taste.
You may also opt to heat your beer on medium to de-carbonate it. But, you should be extra careful with this process because beer is flammable.
Step 2: Melt the solid oils and butters
Add the cocoa butter, shea butter, olive oil, and coconut oil to a slow cooker. Allow the solid oils to melt and mix into the liquid oils. Stir for a few minutes until all the solid oils are completely melted.
You are not limited to these oils only. Experiment with your favorite oils whether it’s mango butter, castor oil, almond oil, sunflower oil, and even avocado butter if you are a fan.
Once the oils are melted, set aside to cool as you prepare for the next step. Have a look at this great explainer if you would like to learn more about blending essential oils for soap making and calculating the right amount of oils to use in your recipe.
Step 3: Measure the lye
Lye is basically potassium chloride. This is an important ingredient in soap making because it is responsible for converting the oils into soap.
You should take extra precaution when handling lye; this is, after all, a chemical and there is a real risk of an explosive reaction. Be sure to wear protective eyewear and gloves. If the lye comes into contact with your skin, run water on the affected area for several minutes.
Measure the lye using a plastic measuring pitcher. Avoid using metal or glass when handling lye. Metal will corrode when it comes into contact with a chemical while glass can easily crack. So, plastic containers are your best bet.
Step 4: Combine the lye with beer
Now, we want to mix the potassium chloride with the de-carbonated beer. The lye will help to prime the beer to convert the oils into soap. Here, beer acts as a substitute for water, which is what you would use when making ordinary soap.
Keep in mind that the combination of beer with lye will result in an exothermic reaction. This means that the mixture will generate a considerable amount of heat so you need to be prepared for this.
Add lye to the pitcher containing the flat beer and not the other way round. Do this very slowly, allowing the lye to gradually mix with the beer to minimize the chances of an explosive reaction. We recommend that you perform this step outdoors or in a well-ventilated area.
Stir the mixture for 1-2 minutes. Do not worry if you notice the liquid begin to darken. This is a normal reaction and is part of the soap-making process.
Step 5: Cool the beer-lye mixture
As you will see, combining beer and lye will produce quite some heat. Before proceeding to the next step, you will first want to cool this beer-lye mixture.
You can leave the pitcher containing the mixture on the countertop for everything to cool slowly. But, if like us, you want to move a bit fast, we recommend plunging the pitcher into an ice bath.
For the ice bath, simply fill your sink with cold water and add ice cubes. Then, place the container of the lye-beer mixture in the cold water until it is completely cool. Ideally, it should cool to 850F-900F.
Pro Tip: Do not taste to check if the beer-lye mixture has cooled; instead, use a thermometer for accurate temperature readings.
Step 6: Add the beer-lye mixture to the oil
Once the mixture of beer and lye cools, you can now pour it into the slow cooker or crockpot containing the melted oils.
First, stir with a spoon to wrap the mixture into the oils. If you would like to use your soap for exfoliation, this is a good time to add your stash of grains. Be moderate here— one or two tablespoons of grain are enough as you do not want to make the soap too course.
Step 7: Blend everything together
Power on your immersion blender and use it to mix the beer and lye with the oils. Blend until the mixture turns into a thick paste.
You might be able to use just a spoon to mix the oil, beer, and lye. But, we strongly recommend using a blender. Not only will it save you precious time; it also mixes everything uniformly and the resulting paste has a nice, smooth, and consistent texture.
At this point, you can add your favorite essential oils. There is no limit on the type of oil you can mix into the paste. Common oils used to make beer soap are chamomile, jasmine, lavender, vanilla, and pine just to mention a few.
When it comes to essential oils, a little goes a long way so you only need to add a few drops into your mixture. Continue using your immersion blender to stir in the essential oils and to give the paste one last whirl.
Step 8: Pour the paste into molds
After thorough blending, you should now have a thick but pourable paste. It might smell like beer but don’t worry; this boozy smell will go away after a while and you will be left with a rich, sudsy, homemade soap.
Now, pour the thick paste into molds for cooling and solidification. You can use silicone molds, which should be available in your local craft shop. If you decide to use wooden molds, line the inside with parchment or freezer paper before pouring in the thick soap paste.
Use a ladle or flat object to smoothen out the top surface of the paste in the mold. Then, allow the paste to cool for 2 to 4 days. At this point, the paste will have hardened into solid soap, which you can go ahead and use.
That said, we recommend waiting 4 to 6 weeks for the soap to cure and harden completely. The harder the soap, the better it lathers and the longer it tends to last. So, if you can, do give the soap a little longer before using it.
That’s it! You have successfully made beer soap. Now, go ahead and lather up in those boozy, soapy suds!
Extra Tips
- There is a world of molds out there. The type that you choose can affect the outcomes of your soap-making project. Whatever your choice, you should pick heat-resistant molds. You will not heat the mold but as your soap cures, it will undergo a chemical reaction that will produce some heat.
- If you do not want the final bars of soap to have a strong beer smell, use essential oil with an equally strong fragrance. Add the essential oil just before curing the soap to ensure that it is locked in the soap.
- Add lye to cold, instead of warm de-carbonated beer. This will help to minimize the heat produced when the two liquids are combined. Starting with cold beer also shortens the cooling process.
Summary
Making beer soap is an exciting DIY project but it requires patience. Don’t worry if you do not get it right the first time. You might need to give it a few more tries before minting out perfect beer soaps.
With the recipe we have given you, and the instructions we have outlined, we believe that you will master how to make soap beer sooner rather than later.


Okay, I read your article because I want to make a beer soap and I never have before. But, I am a soapmaker and have made scads of non-beer soap (so thanks for the tip to de-carbonate)
However, you REALLY should correct everywhere in your article that says lye is potassium chloride. Lye is sodium hydroxide– and while still (kind of) a salt, is not anywhere close to potassium chloride. Maybe you were thinking potassium hydroxide (used to make liquid soap?)
I AGREE! Damn! I make CP soap. It is NOT something to bandy about information on!!! Sodium Hydroxide is lye for cold process or solid soap bars. Potassium HYDROXIDE is lye for LIQUID soap!!! And lye is a CAUSTIC it will burn you.
How much lye please.xxx
I would suggest not “trusting” any soap recipe you find on the internet and run the ingredients through a hood soap calculator just to be sure you are safe.
How much lye? How many bars does this recipe make?
As mentioned, potassium chloride is not lye, sodium hydroxide is. Also, whereas they give all measurements (down to EO drops!), they don’t say how much lye….yes, you should always be using a soap calculator to determine lye, but this is still a bit of an oversight. Also though, it’s not a “pro tip” to NOT DRINK BEER + LYE. Lye is drain cleaner. It will corrode your flesh.
Big question is….will anyone ever buy their beer?? If they’re this bad at chemistry, can we trust their beer making???
Are the measurements by weight alone, or the liquid volume and the other weight??