Most homebrewers use what they have in the house when making beer. Sometimes, they don’t have a proper piece of equipment or prefer reusing things, including glass bottles. Once you decide to make beer on your own, reusing is an excellent option. That way, you will keep the environment clean and save some cash.
If you choose this option, you probably wonder how to clean beer bottles properly. For a start, you should select brown bottles instead of clear ones whenever possible because they protect beer from the direct light. Then, pick out the suitable cleaning method, find the proper brush, and de-label all bottles. Let’s go!
How Long the Cleaning Process Take?
The beer bottle cleaning and sanitizing procedure will take you approximately 1 to 2 hours if you use a dishwasher. When you plan to wash them by hand, you need to count on at least 2 to 3 hours for the whole process.
Remember that you shouldn’t rush because this step is crucial. Any remained dirt will ruin all your efforts. You can speed up the process by rinsing the bottle right after drinking the beer.
It is vital to scrub bottles after drinking homebrew because of yeast leftovers that can turn into the concrete-like mass over time. Only a tiny left amount will spoil the new beer flavor profile if it reanimates and interferes with the intended yeast strain.
Cleaning Beer Bottles
1. Soaking overnight
Once you decide to clean accumulated bottles before brewing, you should soak them overnight. The best option is to make an OxiClean solution or use its generic version.
Place bottles into large watertight containers or a tub and pour enough hot water. Add 2 to 3 scoops of cleaner, and then fill the bottles with the solution.
Another option is to add 0.5 to 2 ounces (15 – 60 ml) of bleach with 5.25% sodium hypochlorite per 1 gallon (3.8 l) of cold water, depending on the bottle contamination degree. Run enough water to submerge bottles and leave them to soak overnight in both cases.
2. Removing labels
After soaking bottles overnight, it is time to remove labels. In most cases, wet labels will fall off themselves. However, you will need a scouring dishcloth or even a steel wool pad for stubborn ones.
First, try to peel off paper labels with your fingers and throw them away in the trash bin. Remove all remained glue with the steel wool and rinse them with clean tap water. Once the outside is clean, it is time to clean them inside profoundly.
Keep in mind that you can peel off painted labels only after heavy scrubbing. Sometimes, you will need to use some chemical solution specifically made for removing this label type. You can also notice glue traces after the remaining part is peeled off. In such a case, you will need some abrasive to remove them.
Deep cleaning beer bottles
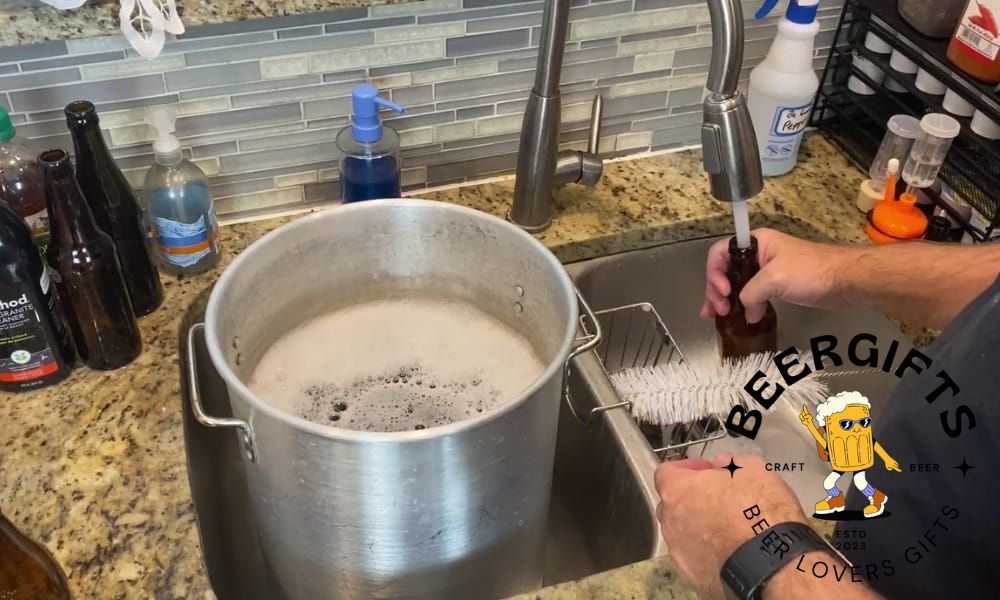
By hand
Put on gloves to protect your hands from the cleaner, and then pour half the water out of the bottle. Plug the opening with a finger and shake the bottle vigorously for several seconds. In most cases, it will be enough to get the inside clean.
Sometimes, it will be necessary to use a nylon bottle brush for scrubbing the bottle inside. When you face a piece with visible stains that remain after shaking, the best solution is to throw it away.
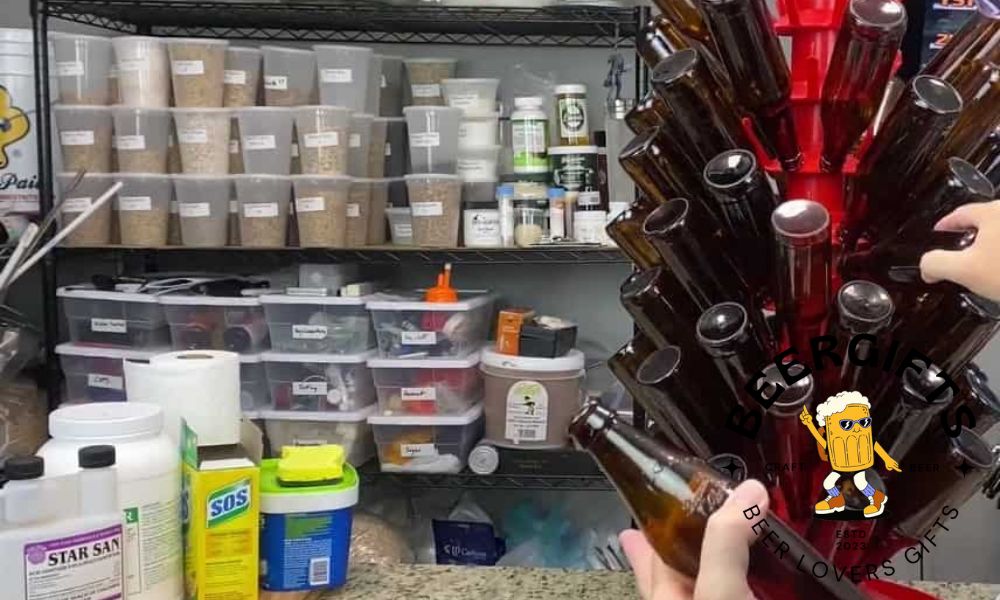
Rinse bottles carefully with clean boiled water inside until all soapy residues remove. Then, it is time to place them upside down on a drying rack. Keep in mind that you need to repeat the entire process only once.
In a dishwasher
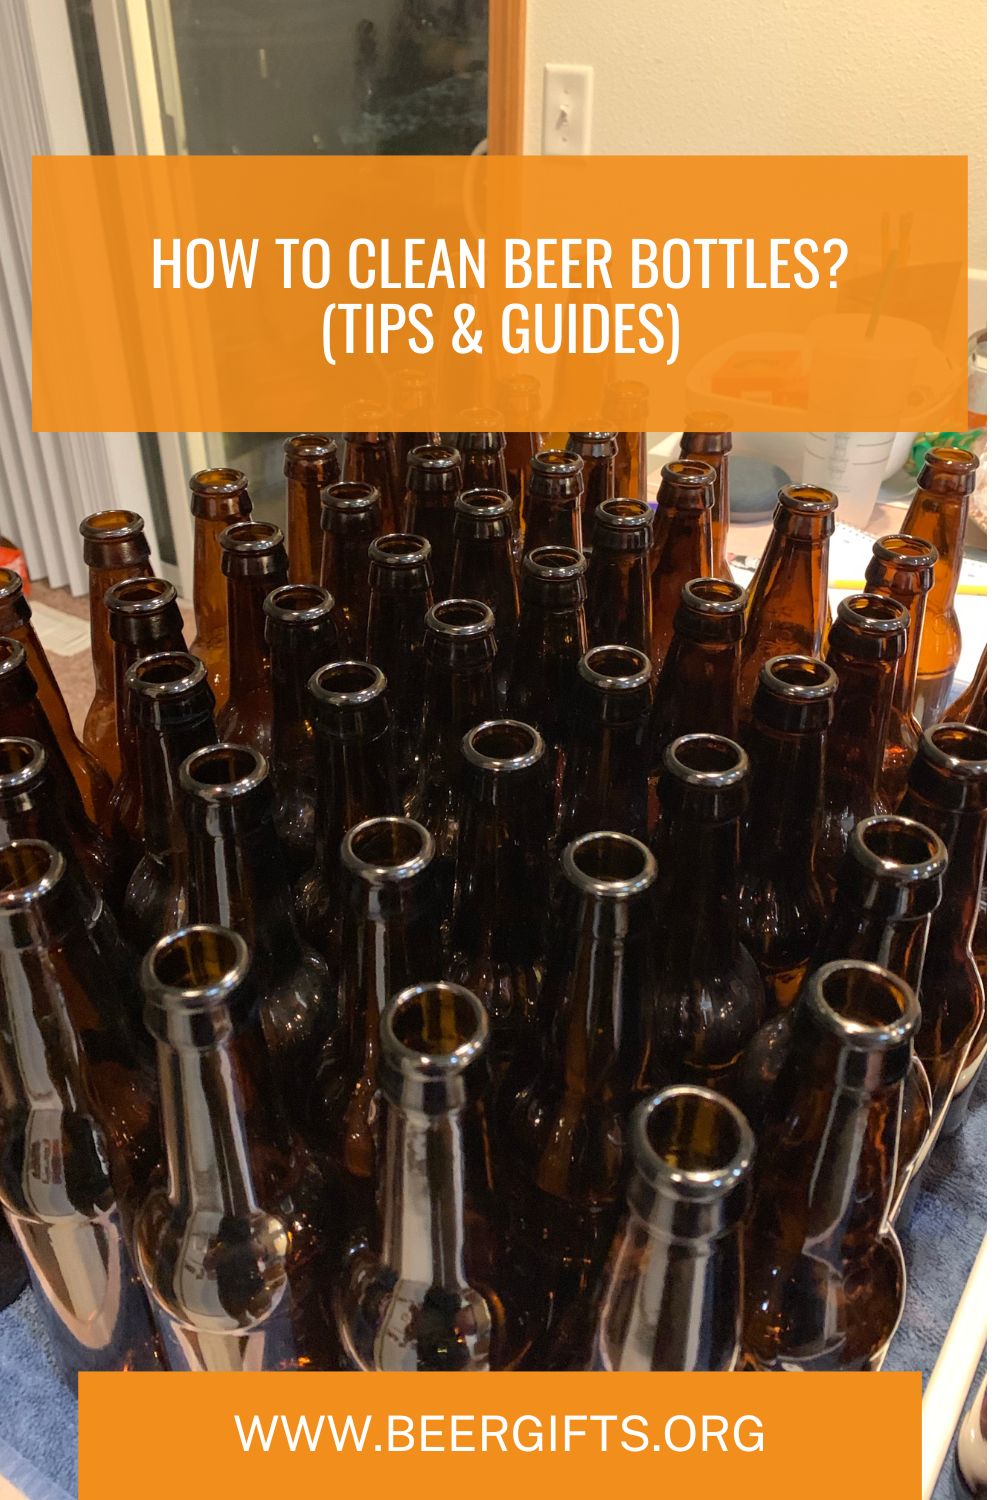
If you have a dishwasher, you can put all bottles inside and get them washed without much effort. That way, you can wash approximately 55 bottles at once. It will be enough to let them run a high-temperature wash without detergent and dry them in the end.
That is an excellent way to clean the bottles from the outside. However, you shouldn’t rely on the dishwasher to remove stubborn stains from the inside. It is better to clean bottles by hand before this process, especially if you plan to use narrow neck bottles.
Let the bottles cool at least for 10 minutes before taking them out. Never wash dirty dishes and sanitize the beer bottles at the same time.
Tips for beer bottles cleaning and sanitizing
Remember that thorough cleaning and sanitation will make the difference between a tasty beer and a disaster.
- Proper agent – Never wash beer bottles with ordinary detergent or dish soap since they leave residues on the glass surface.
- Equipment material – Avoid plastic equipment since this material is an ideal hiding place for wild yeast and bacteria growth.
- Bottle caps – Don’t forget to wash and sanitize bottle caps.
Downsides of Recycled Bottles Use
It is beneficial to reuse glass beer bottles for both you and the environment. Unfortunately, there are a few drawbacks to this procedure, including:
- Time – The cleaning process is time-consuming.
- Aesthetics – If you plan to sell your homebrew, you will have an issue with different packaging appearance. Plus, some bottles have raised lettering on the surface, so you can’t remove them like the labels.
- Strength – Be aware that some single-use bottle types are too weak to withstand the brewing procedure. You need the ones that won’t break under internal pressure.
- Capping – Unfortunately, not all caps fit every bottle type because of too big tops, small rims, or inadequate neck size.
How Many Bottles Is Necessary for Homebrewing?
The number of bottles you need will primarily depend on how much beer you plan to brew. The math says you need to divide the total amount by the size of the chosen bottles. For instance, when you want to brew 5 gallons (19 l) of beer, you will need:
- 54 standard bottles of 12 ounces (0.35 l)
- 38 to 40 bottles of 16.9 ounces (0.5 l)
- 30 bottles of 22 ounces (0.65 l)
- 10 half-gallon growlers of 64 ounces (1.9 l)
Necessary bottles number |
||||
|
Batch size |
22-ounce bottle
(0.65 l) |
16-ounce bottle
(0.5 l) |
12-ounce bottle
(0.35 l) |
Extra bottles |
| 1 gallon (3.8 l) | 6 | 8 | 11 |
+10 to 20% |
|
2 gallons (7.6 l) |
12 | 16 | 21 | +10 to 20% |
| 3 gallons (11 l) | 18 | 24 | 32 |
+10 to 20% |
|
4 gallons (15 l) |
24 | 32 | 43 | +10 to 20% |
| 5 gallons (19 l) | 30 | 40 | 54 |
+10 to 20% |
|
10 gallons (38 l) |
60 | 80 | 107 |
+10 to 20% |
Always count on underfilling bottles, spillage, and accidental breakages, and prepare 10 to 20% more bottles just in case.
Different Beer Bottle Types in the US
As you have already known, you can find two beer bottle types in the US:
- One-way bottles – You can use these lightweight bottles only once, and they are not suitable for homebrewing.
- Returnable bottles – These bottles are made of strong glass, and you can reuse them. Most macro breweries avoid using them because it is cheaper to use one-way type instead of cleaning re-usable ones repeatedly.
Luckily, the re-usable bottles have become trendy again with rising home- and micro-brews popularity. That is excellent news for both homebrewers and the environment.
The Best Bottle Color and Material for Homebrewing
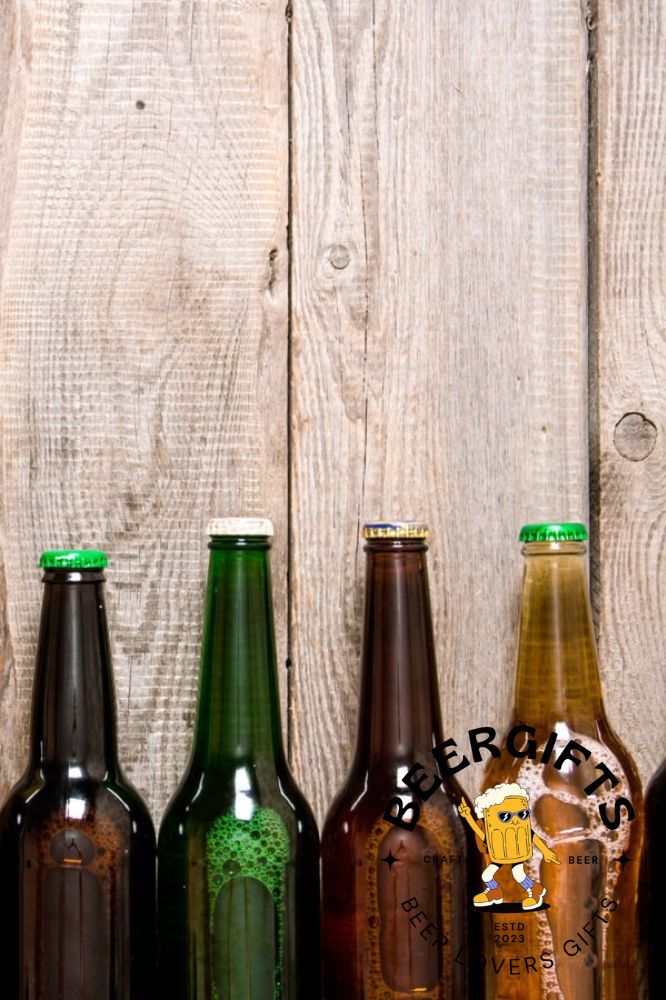
The best option for homebrewing is to pick out brown glass bottles because dark glass protects the beer from UV light efficiently. However, you can also use green or clear ones when you have a place to store the final product away from direct sunlight to prevent getting skunked beer.
Some brewers use plastic soda bottles, but they need to be perfectly clean. In fact, it is an excellent idea to use at least one plastic bottle as a tester. It will help you prevent the occurrence of bottle bombs.
Pour beer into glass bottles and one plastic, and check them daily. When this particular bottle becomes firm, it signifies that beer has reached the desired carbonation level. If the plastic bottle starts to swell and balloon, it means you have a problem and can expect bottles to explode.
The Best Bottle Size for Brewing
Most homebrewers use bottles of 12 ounces (0.35 l) or bigger since it is a bit complicated to clean and store pony bottles of 7 ounces (0.2 l). You will need less space for keeping larger bottles, plus their cleaning won’t take too much time.
The way of consuming beer is crucial to determine the right bottle size. When you make your beverage for drinking at home, bigger bottles are a more practical solution. On the other hand, you should choose standard bottles when you often organize parties.
Summary
The level and way of beer bottle cleaning will determine the sustainability and hygiene of your brewing. Since new bottles are not cheap at all, one of the practical solutions for homebrewers is reusing. It will both save you money and protect your environment. Take care to clean and sanitize them thoroughly since poorly washed bottles can ruin your product.
I love that red rack for drying the beer bottles. I’m definitely going to grab something similar on Amazon, it looks mighty useful.
Hey I want a jop end im axpensive